
The Workshop: PROJECT HENLEY
Last time the Henley-Blackburne was on the bench, Rick said it was nearly there and just needed the oil tank fixing. Of course, it turned out to be more involved than that...
WORDS & PHOTOGRAPHY: RICK PARKINGTON
Rick Parkington
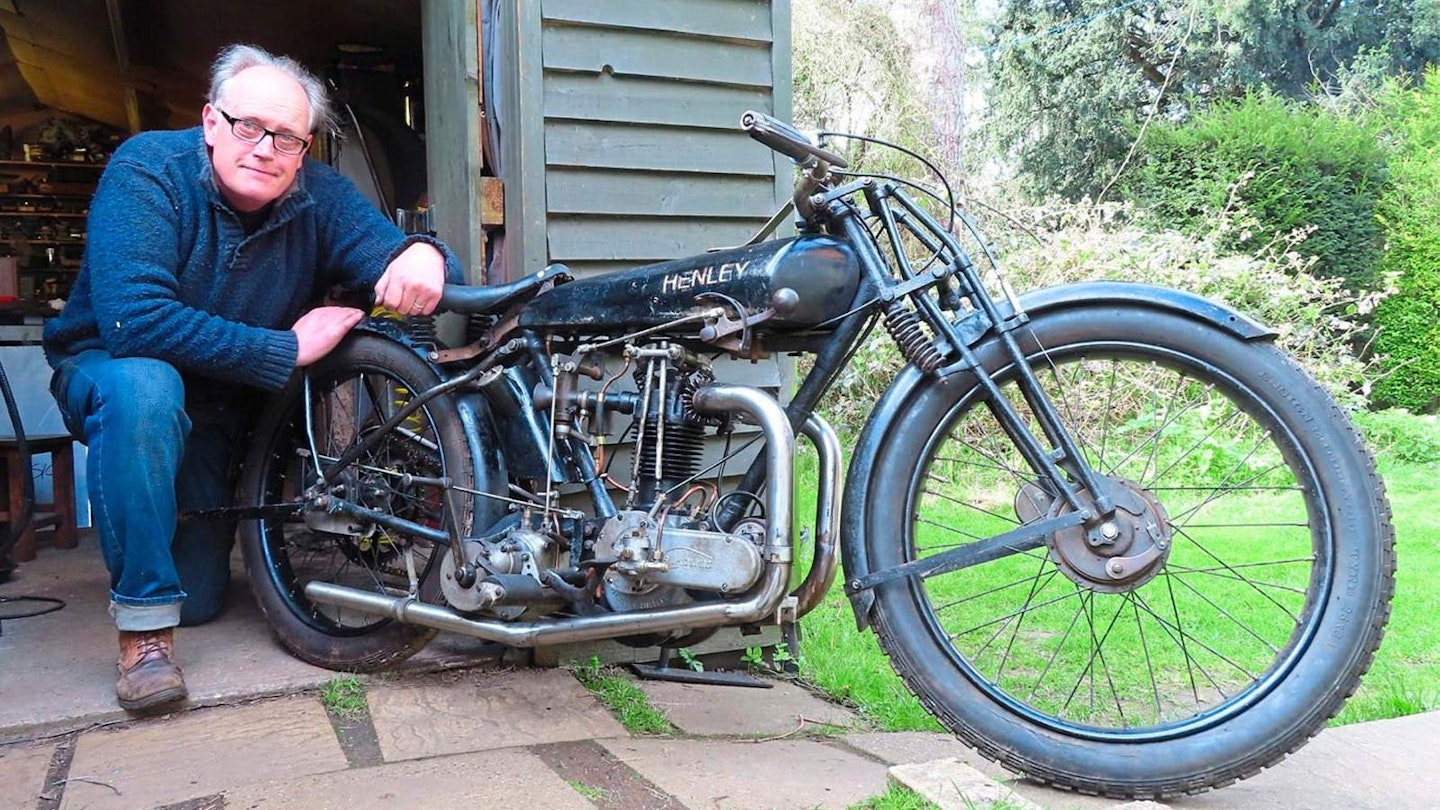
1925 Henley Blackburne Sports
I’m hoping to ride the Henlely at an event in the next couple of weeks. I’ve already got my skates on – but sometimes I seem to be going backwards!
Well, I call it ‘shed truth’ – stuff you think is true at the time, like ‘I’ll only be five minutes’ or ‘This is my last project’. Yes, the oil tank was the last big job left on the Henley, but as you work through the big jobs, smaller niggles always assume a greater importance so there’s always something left to do.
The oil tank is soldered together – and where it had leaked, degreaser-resistant Castrol R had penetrated the soldered joints, meaning it couldn’t simply be re-soldered. MIG welding would work – but just as oil pollutes soldering, solder pollutes a weld and once filled with water as a test, the tank leaked like a shower head.
The next step was to polish up the welds and solder the leaks, but it’s still not an easy ride. Most of us are used to soldering wire, but tin-work is like painting – preparation is the biggest part, it won’t stick if you just slap it on. Flux – acid, like Baker’s Fluid – is useful but won’t do all the work.
Grinders, power files and abrasive burrs are all needed to get the joint bright, after which the flux will assist flow to tin the surface; only then can the repair start.
Talking of oil pollution, the engine’s stood a long time and while Castrol R is very sticky, it also absorbs atmospheric moisture so it can either protect or corrode. Fortunately, 1920s engines don’t have the drilled oilways that gummy old R can block, but it was still worth stripping. That also allowed me to drill and tap an extra oil hole in the crankcase and find out why the head was shimmed up so far it was tight in the frame. Luckily there were no horrors in the engine – as I suspected, the bottom end has been reconditioned and any parts needed came from my spares stock.
So, with that all done and the oil tank fitted and filled, surely that’s the Henley finally finished? Er, well... full of the joys of spring, I made the fuel pipe and put fuel in the tank... which leaks nearly as badly as the oil tank did! Oh well. I ought to make a primary chainguard too, but like I keep saying, it really is nearly there now!
Engine build/Castrol Rde-gunk
1 Caked with Castrol R
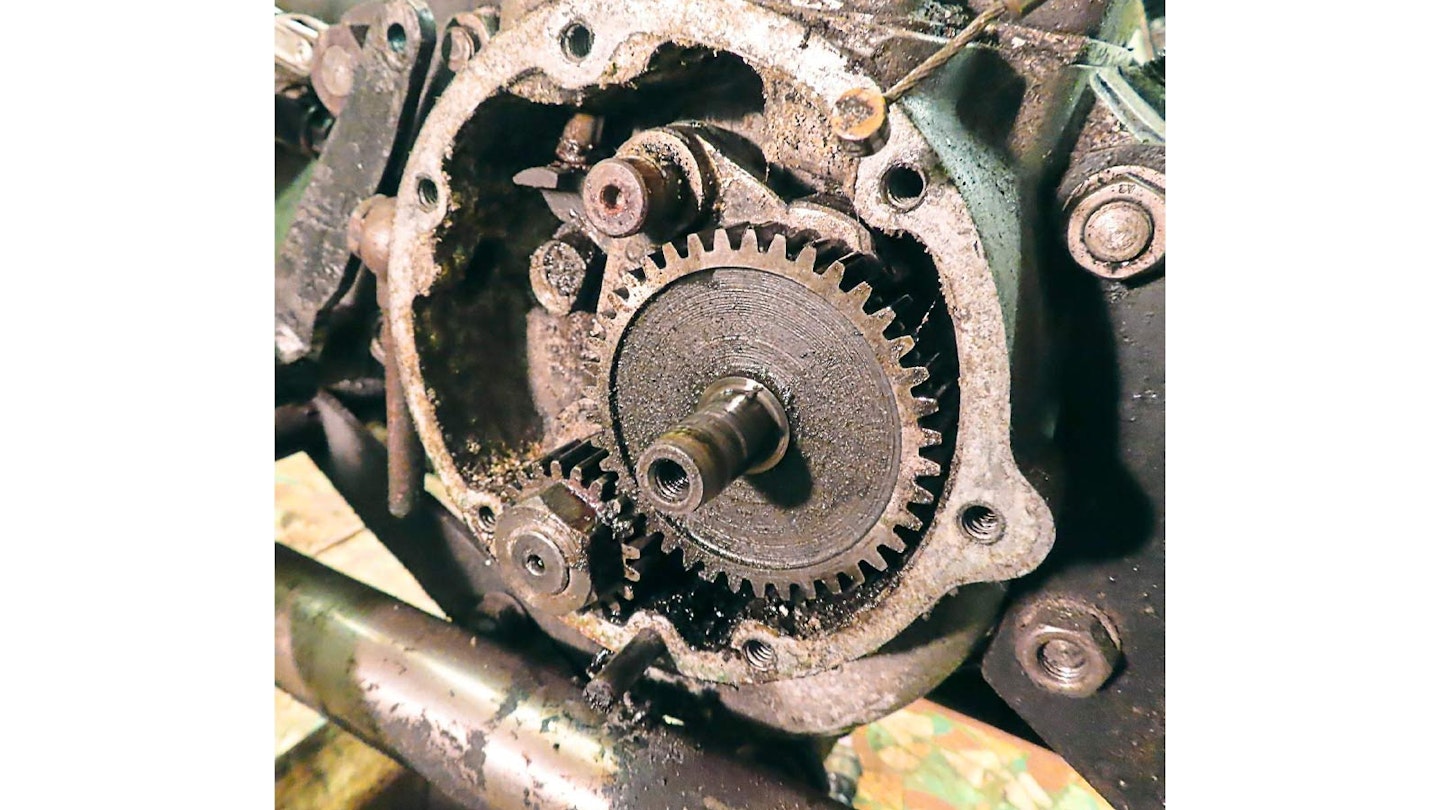
I’m glad I checked. Inside the timing cover, the Castrol R has dried out like wax – it’s very crusty and gritty in there after standing in a damp shed for 15 years and wants a good clean up.
2 Tasty kidney cam
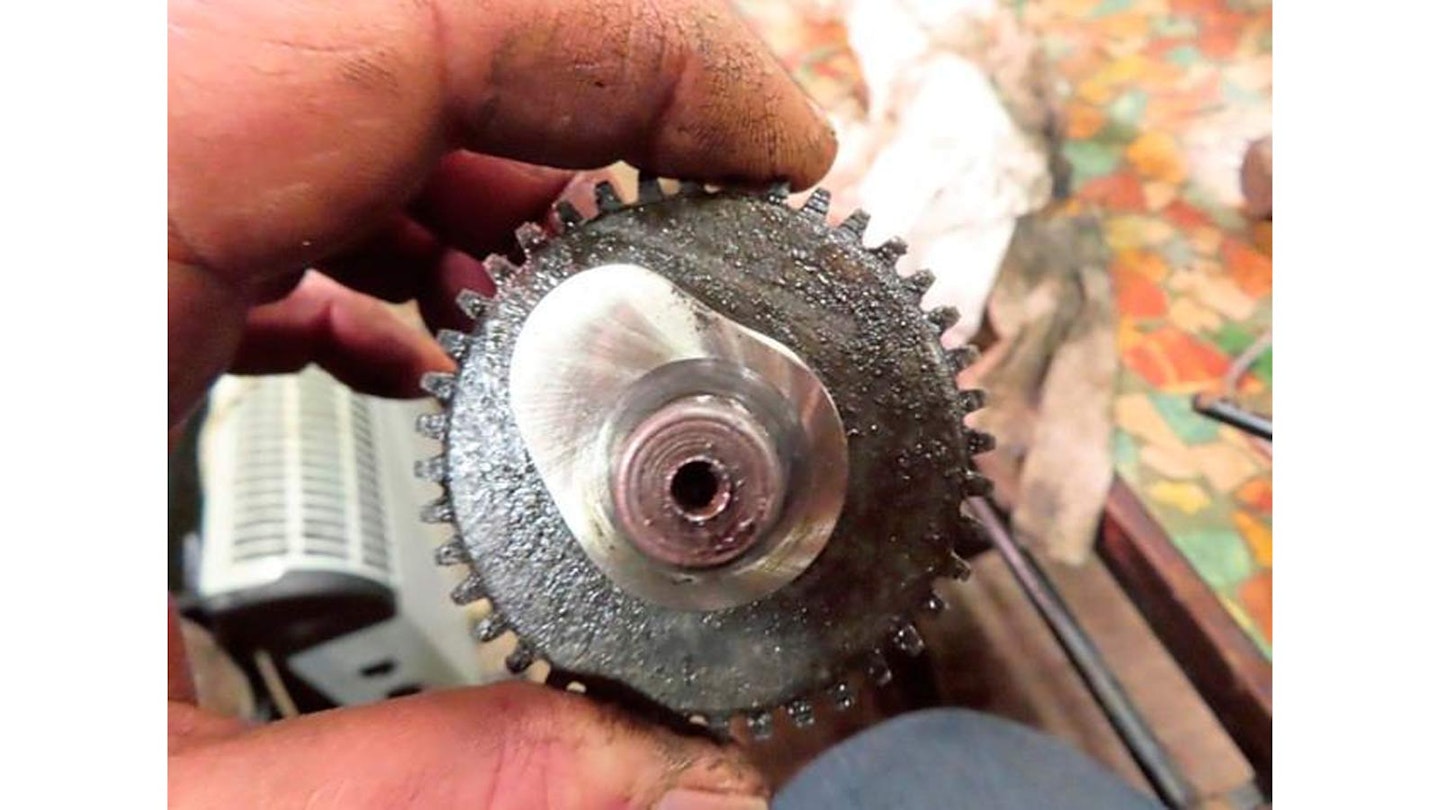
There is one piece of good news – the camshaft is the asymmetrical ‘kidney cam’ profile used on Blackburne racing engines. One follower was a repro, cast in bronze, but I had an original in my spares stash.
3 Piston surprised
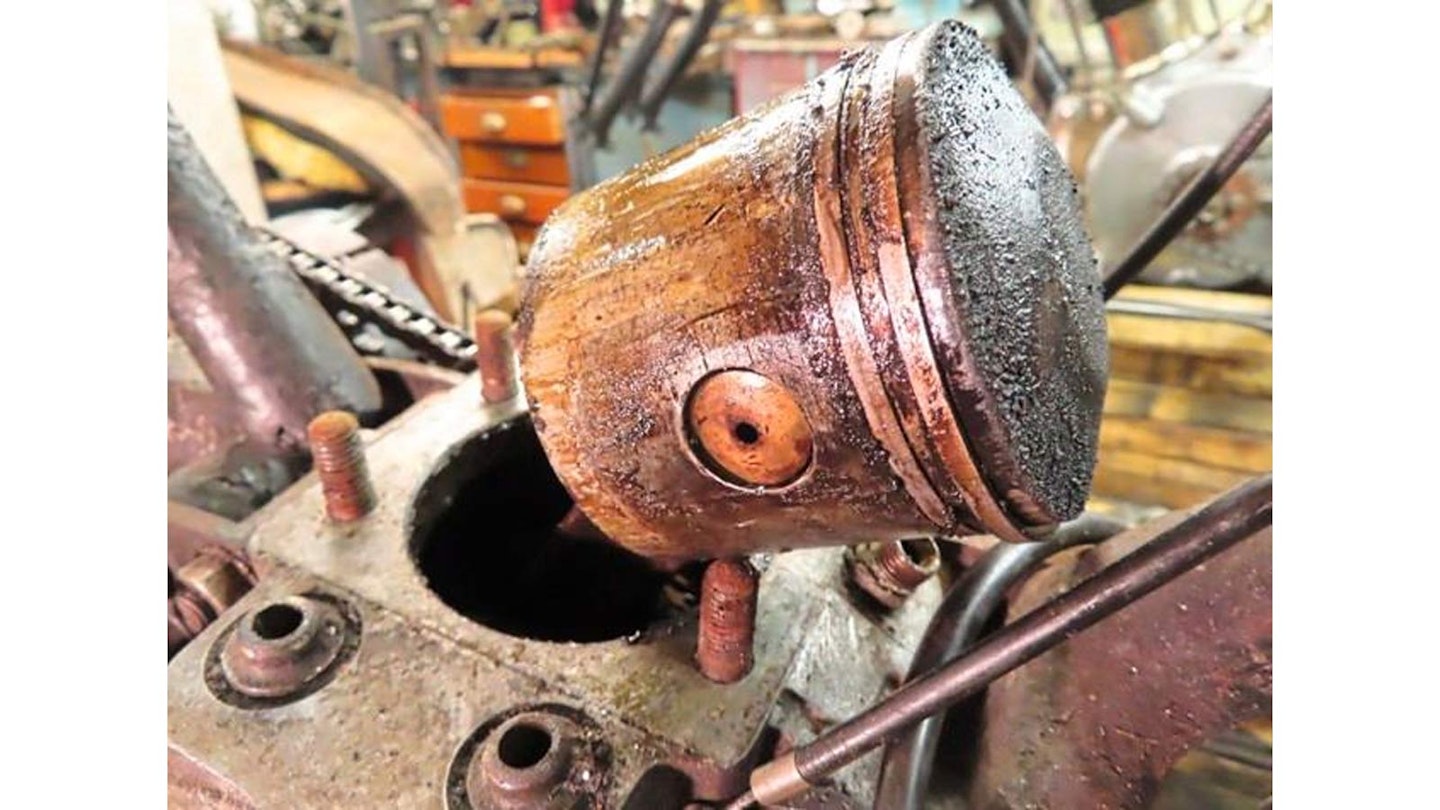
This grubby piston is from a side-valve Blackburne. The ohv engine’s combustion chamber requires ring grooves lower on the piston to clear valve cutaways at the top of the cylinder.
4 Packing proves the point
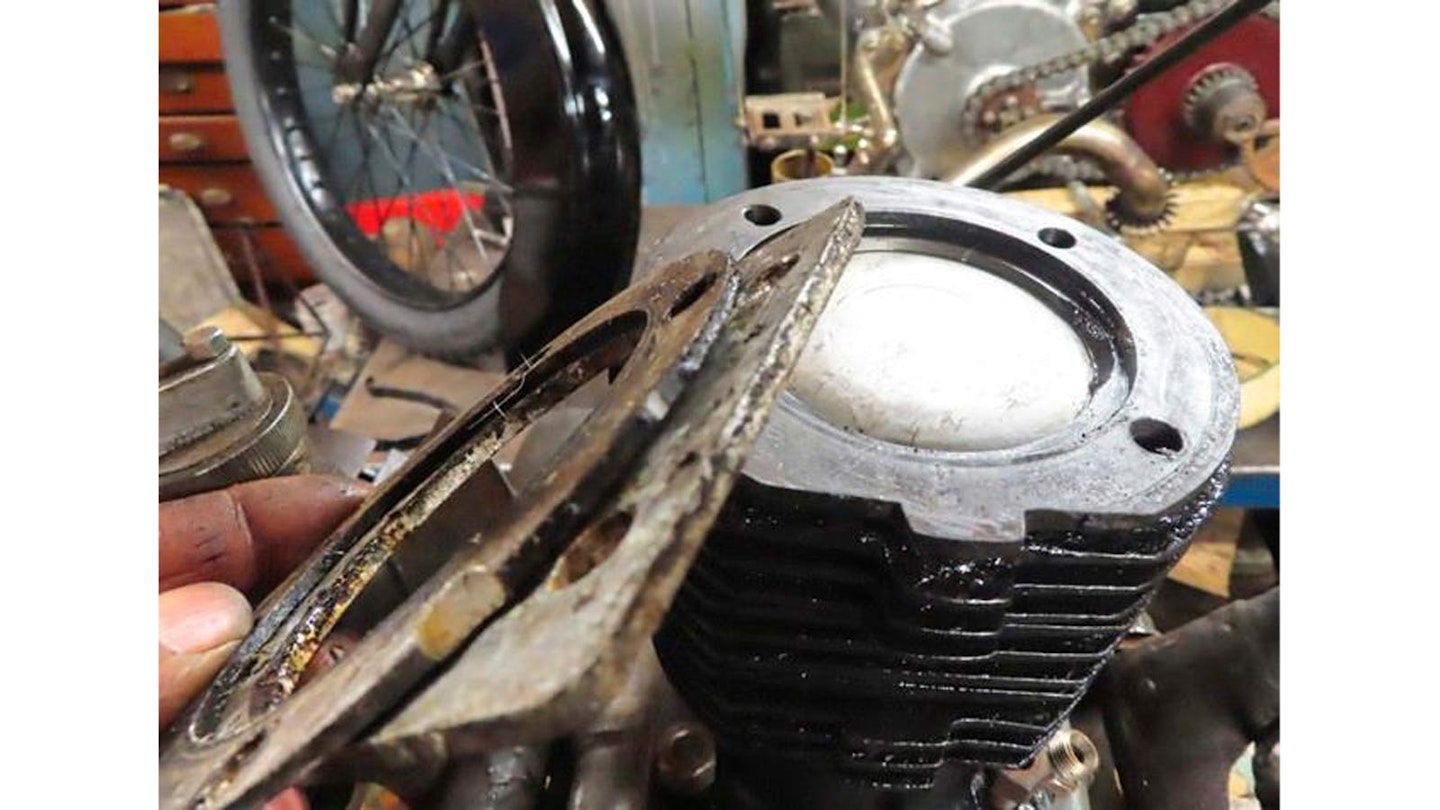
Which is why this bike had thick shims under the barrel and head gasket – and why the rockers almost touched the frame under the tank. Just as well I’ve got a spare ohv piston!
5 Won’t work – too much play
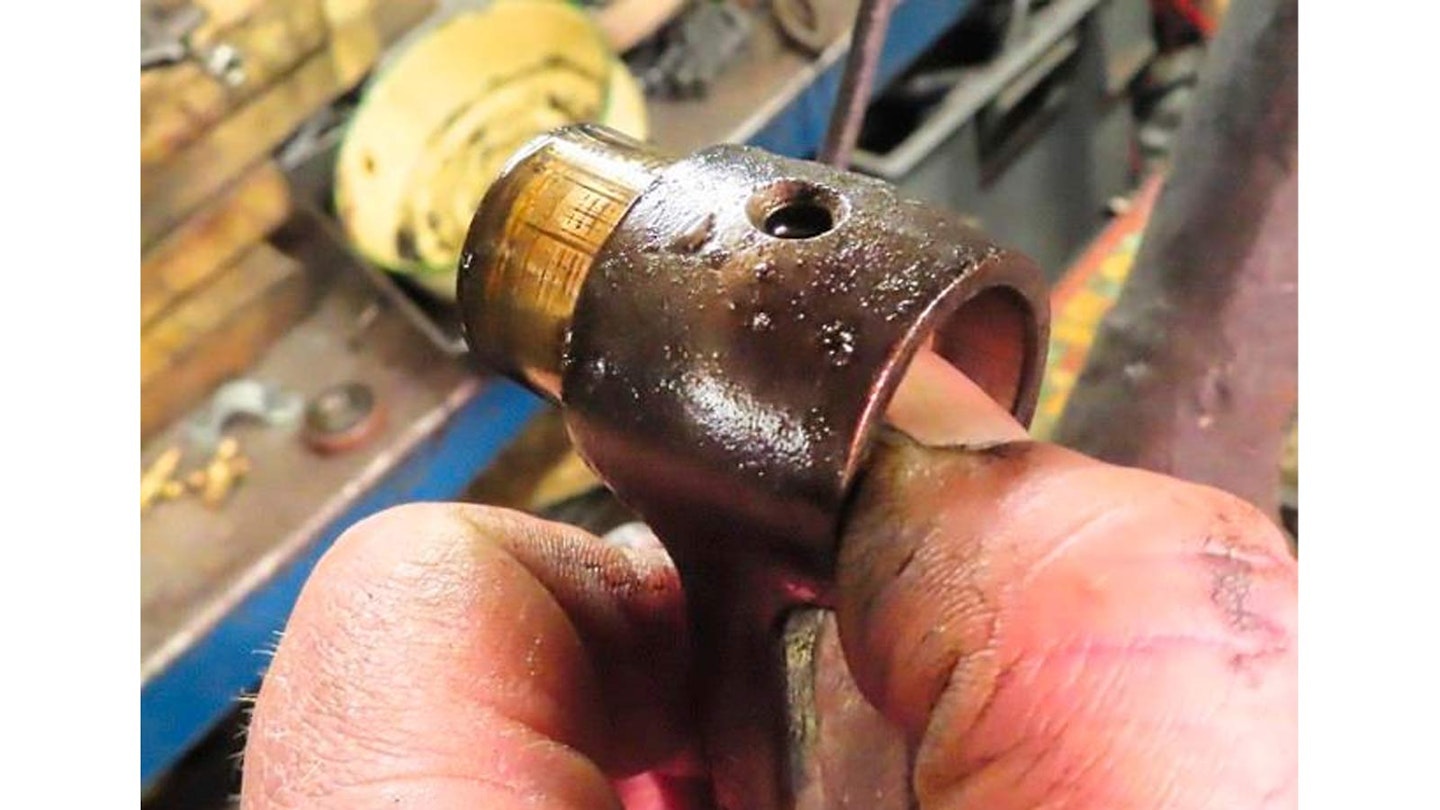
The bore is standard and the big end feels good, but the small end bush is free to move in the conrod. I’ll need to make one slightly larger on the lathe to restore the press fit.
6 Don’t rush a new bush
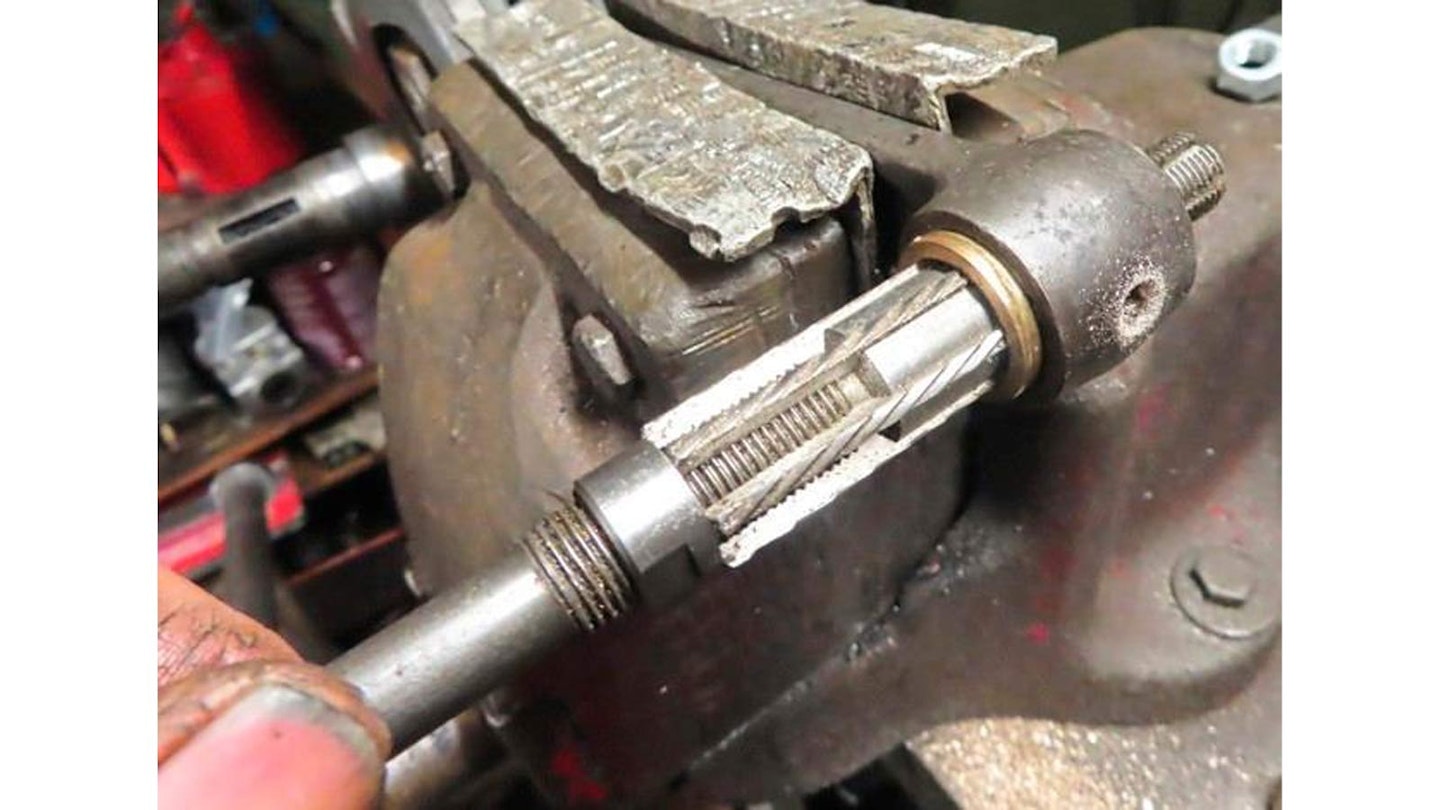
The bush wasn’t seriously loose in the rod, just sliding, so I added 5 thou. When sizing for the pin with an adjustable reamer, take tiny cuts – ¼ turn of the adjuster – to prevent digging in.
7 A pain in the R
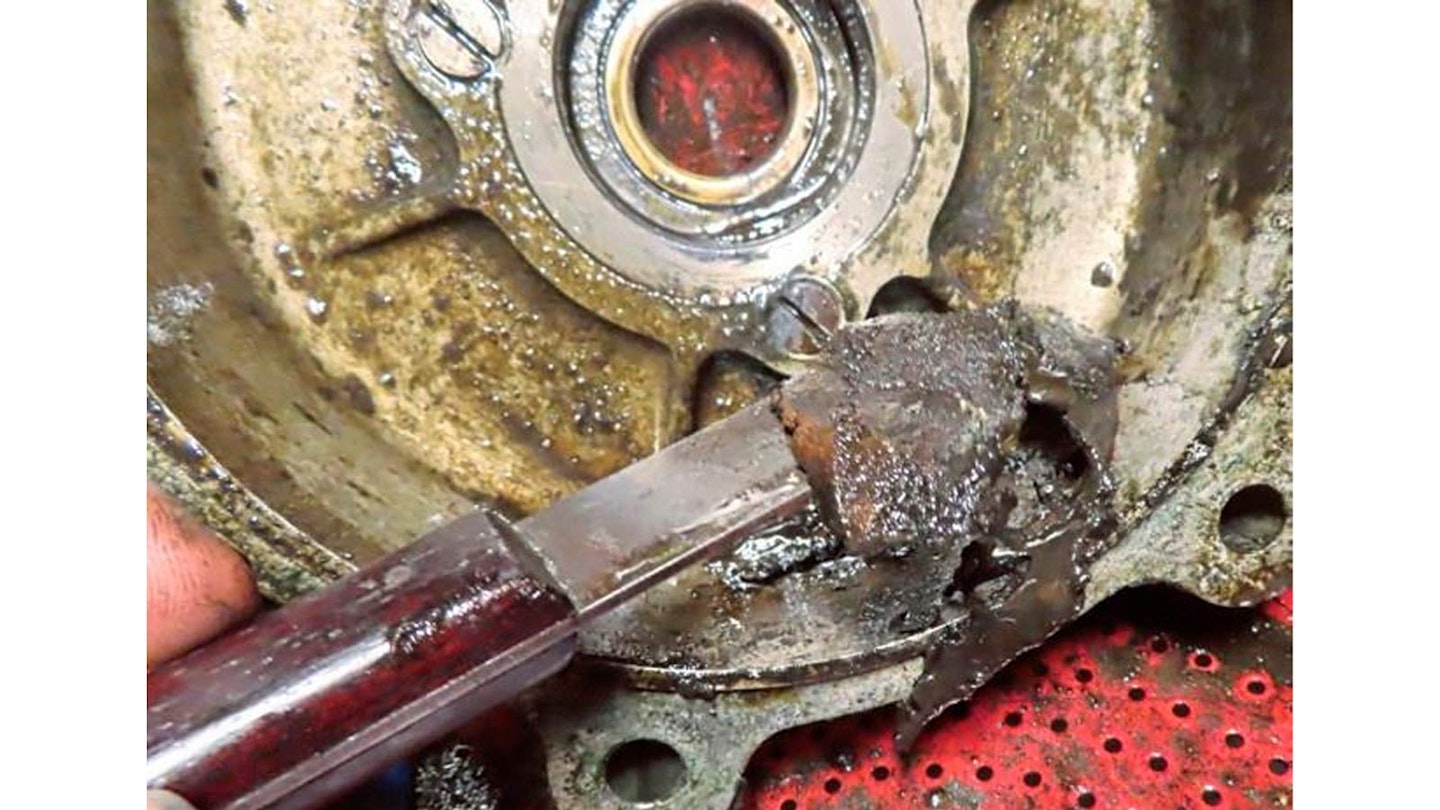
This is what I mean about R; you won’t get this out without a stripdown and scraping it away with a knife. Great oil, great smell – but don’t leave it lying in an engine for too many years!
8 Ready to be well drilled
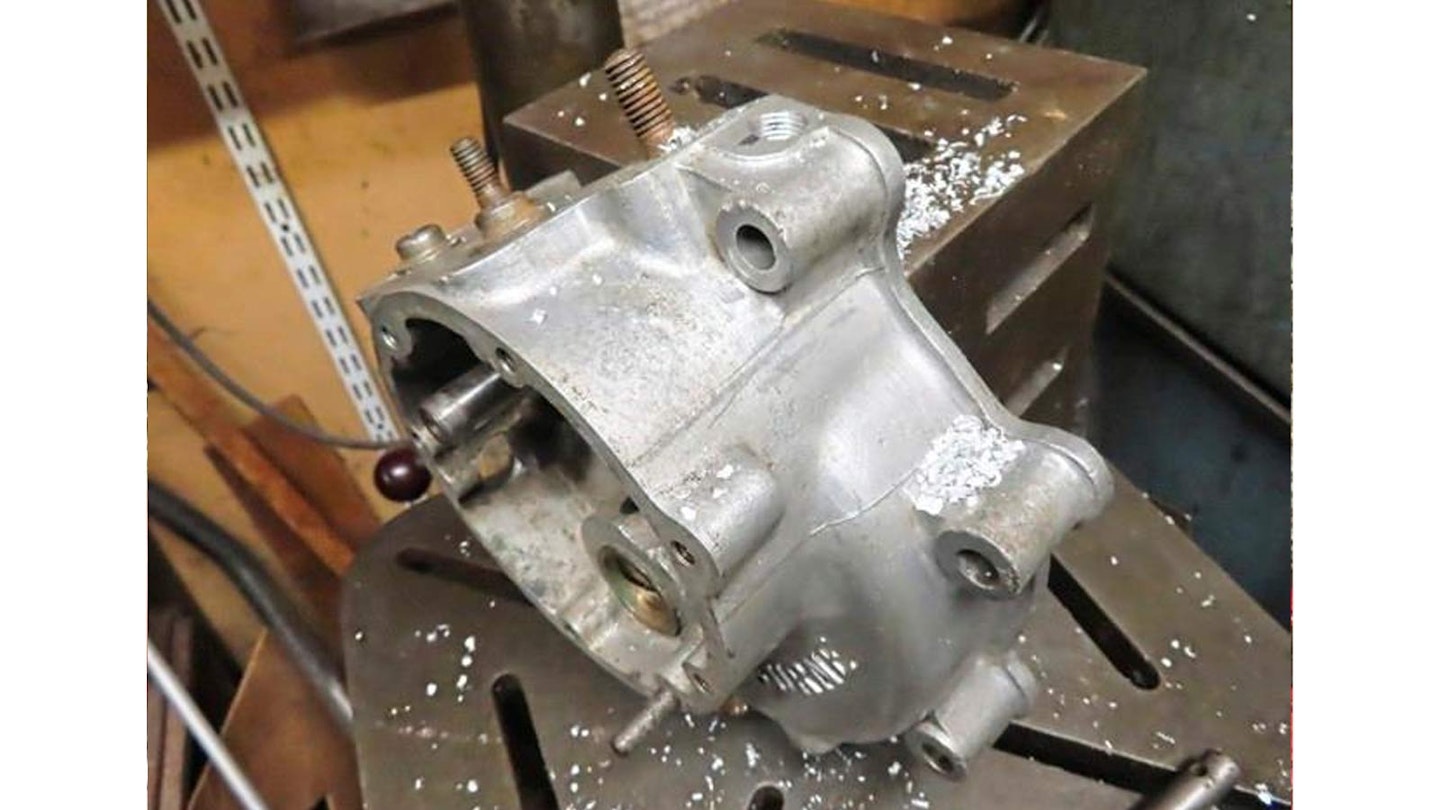
Bearings were all good, and with everything clean there was just one other job to do: mount the case and drill a hole for the auxiliary hand pump. This was common on race engines.
9 Next plan hatched
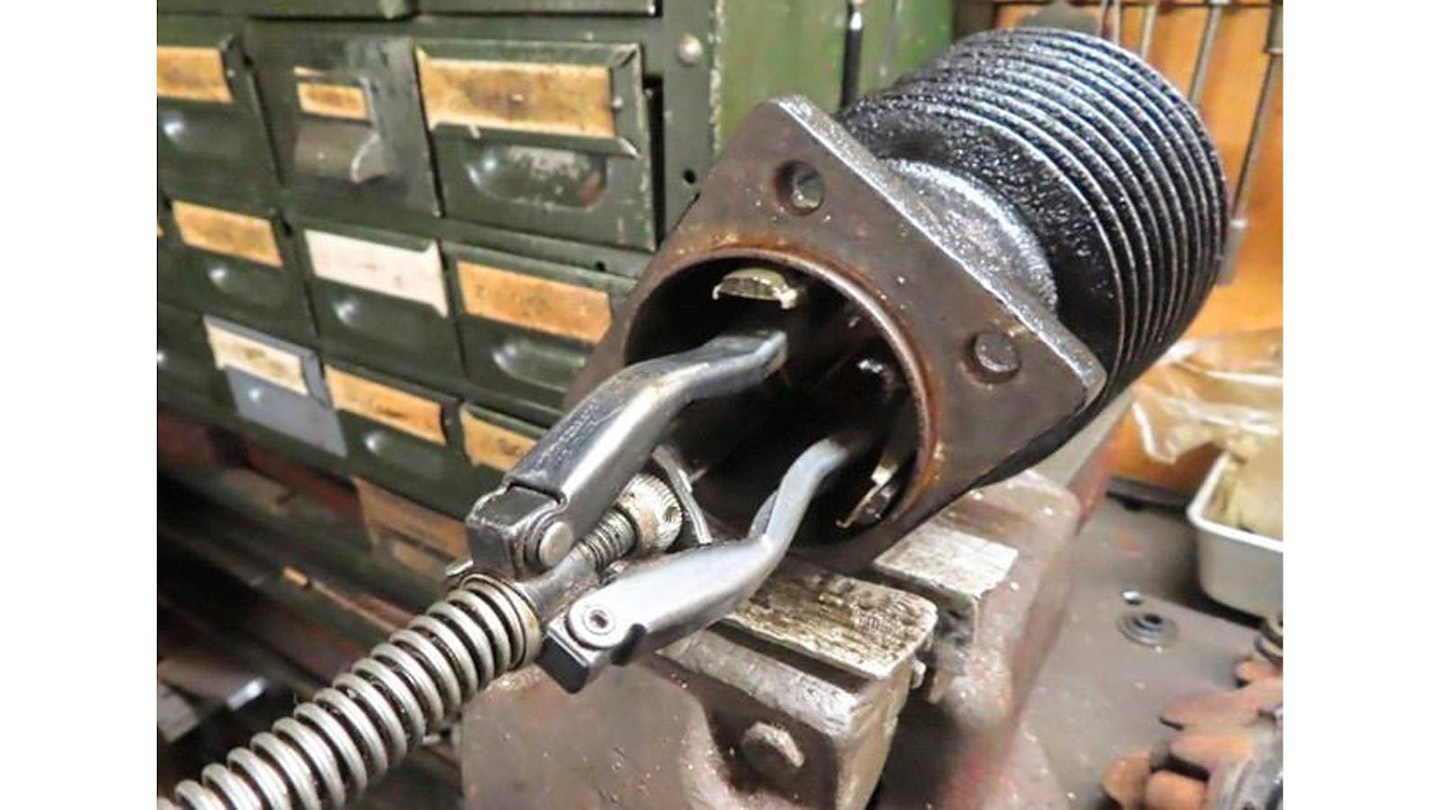
Three-stone cylinder deglazer’s a bit hit ’n’ miss compared to real honing – but if you use one, go up and down fast to steepen the hatching angle and make sure the barrel’s well secured!
10 Starting to look smart
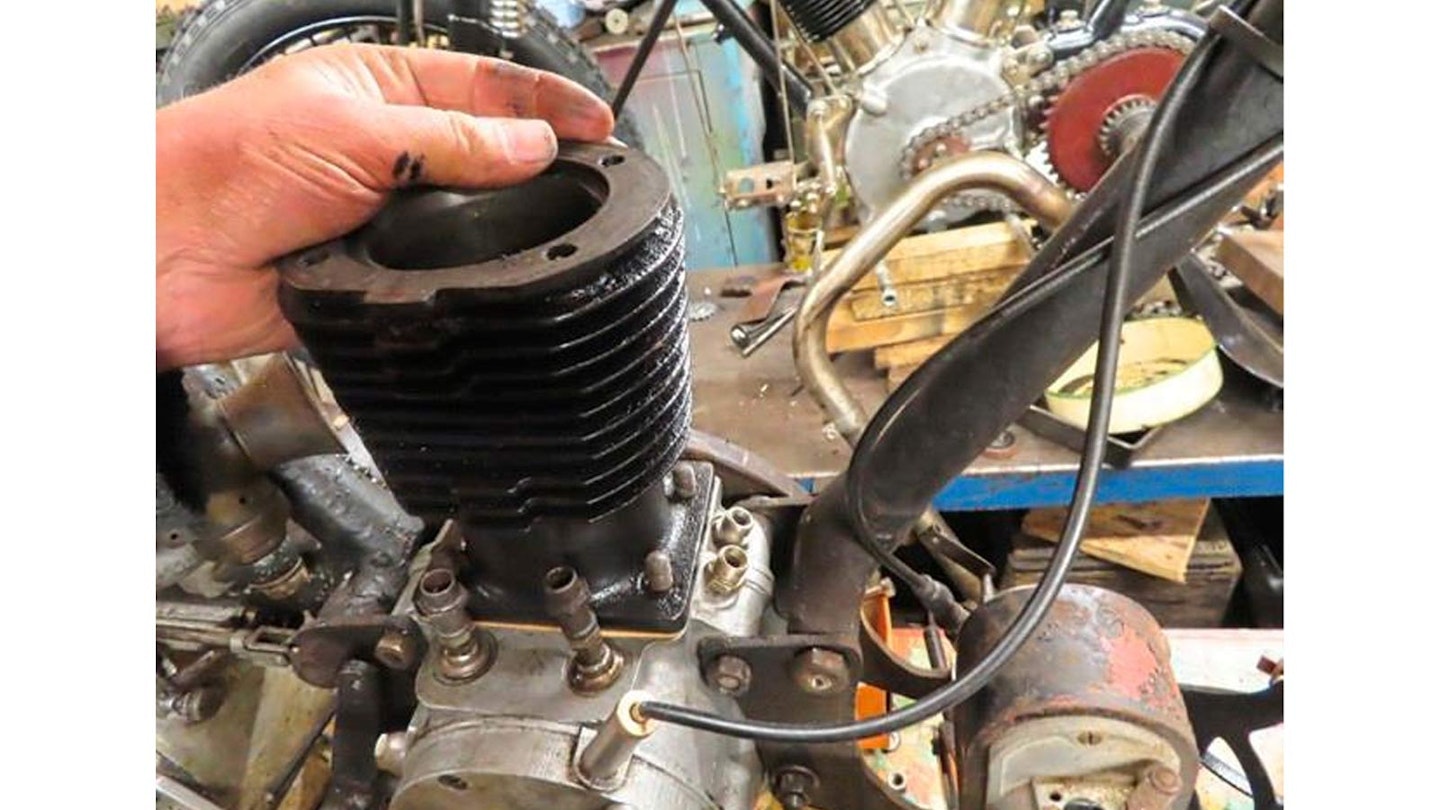
Deglazing the bore will help bed in the new piston rings I’ve fitted. I made a new base gasket and fitted the barrel. The engine was looking much better. I’m pleased with the twin oil unions, too.
11 Dunking my head
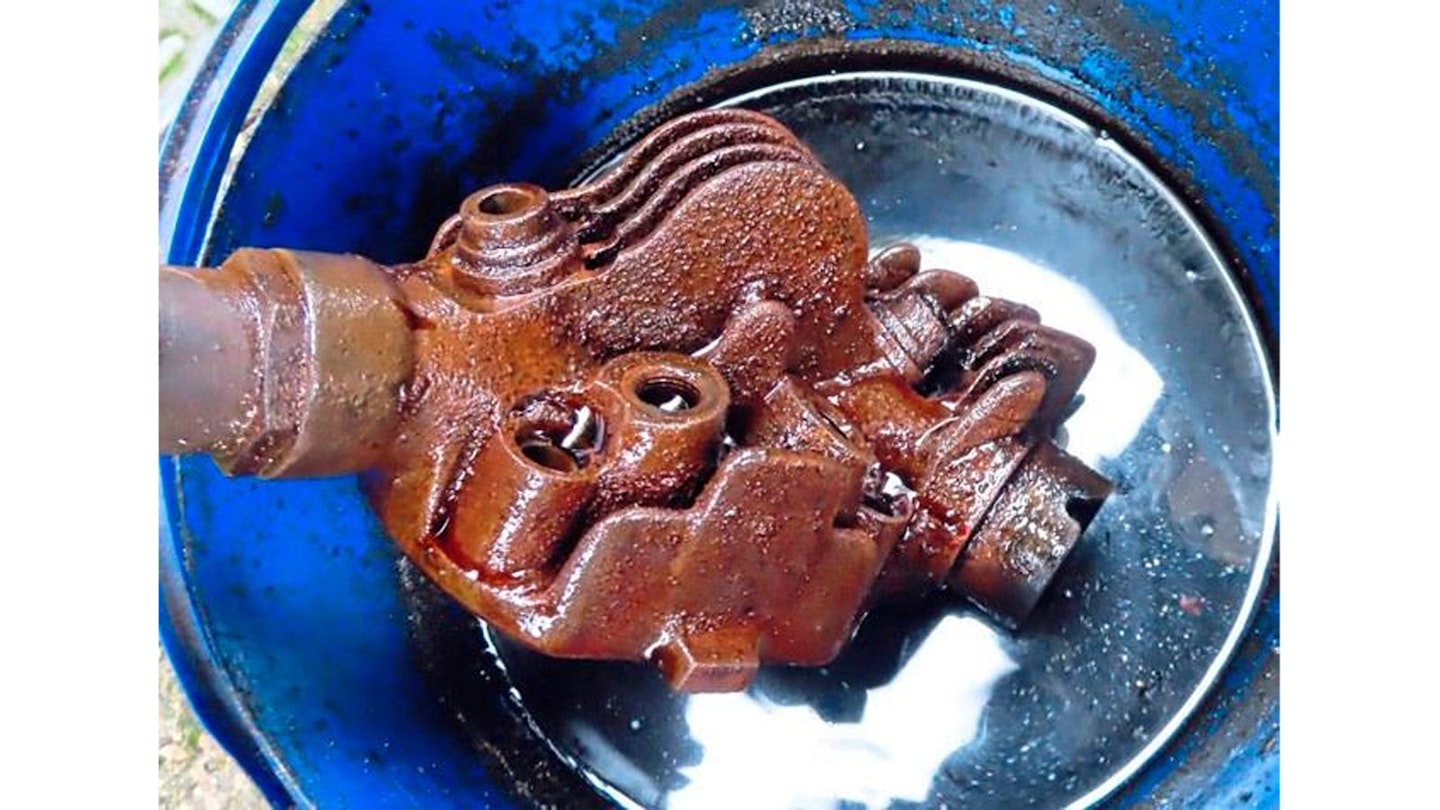
A few days soaking in my caustic soda tub cleans oil and carbon from iron heads/ barrels. It also burns skin and shoe leather as well as dissolving alloy castings, so use with care and rinse thoroughly.
12 Once a rocker...
With the valves ground in, the next job was to set the rocker heights. They screw in and need to make good contact with the valve tip throughout the opening range. After that, the valve springs can be fitted.
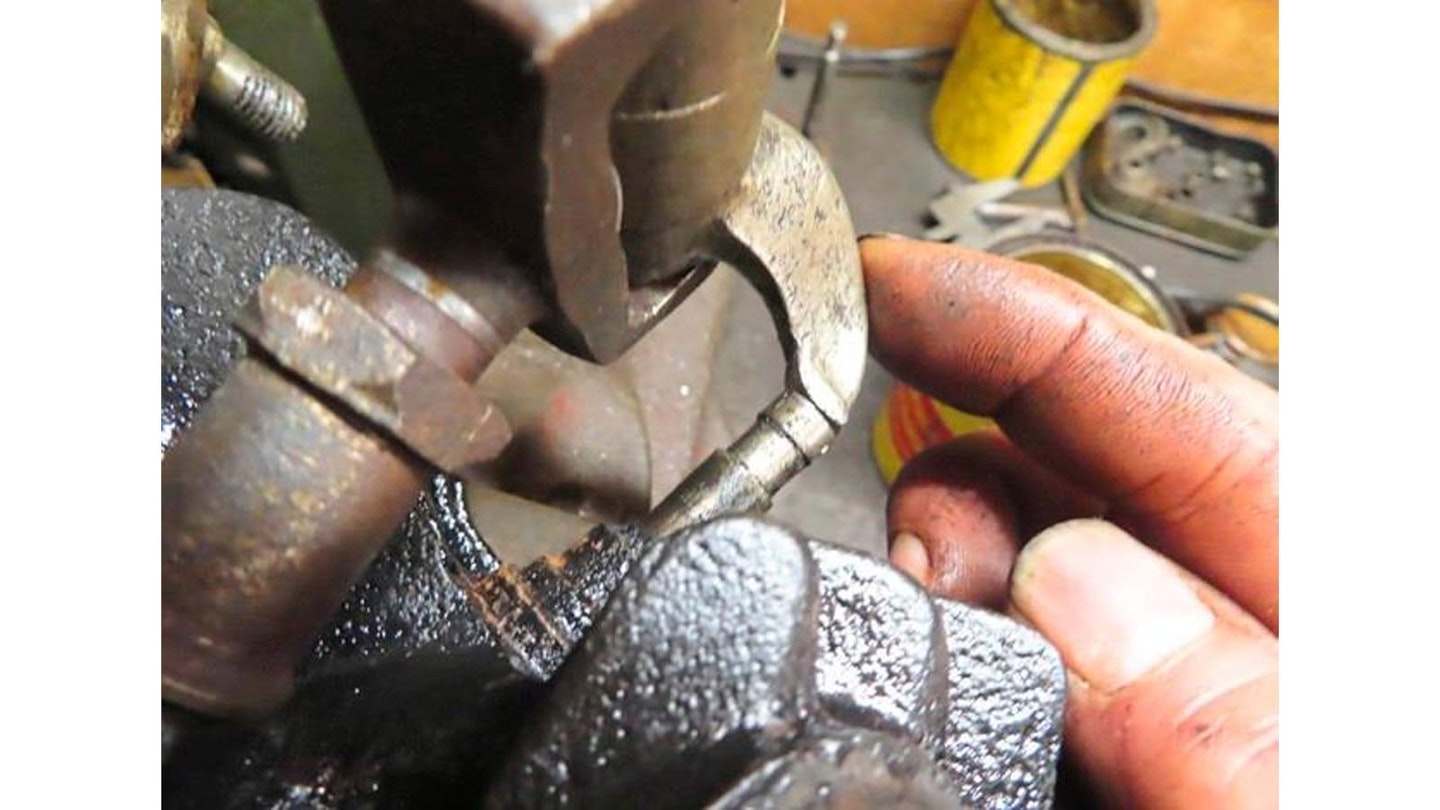
13 Time to be a square
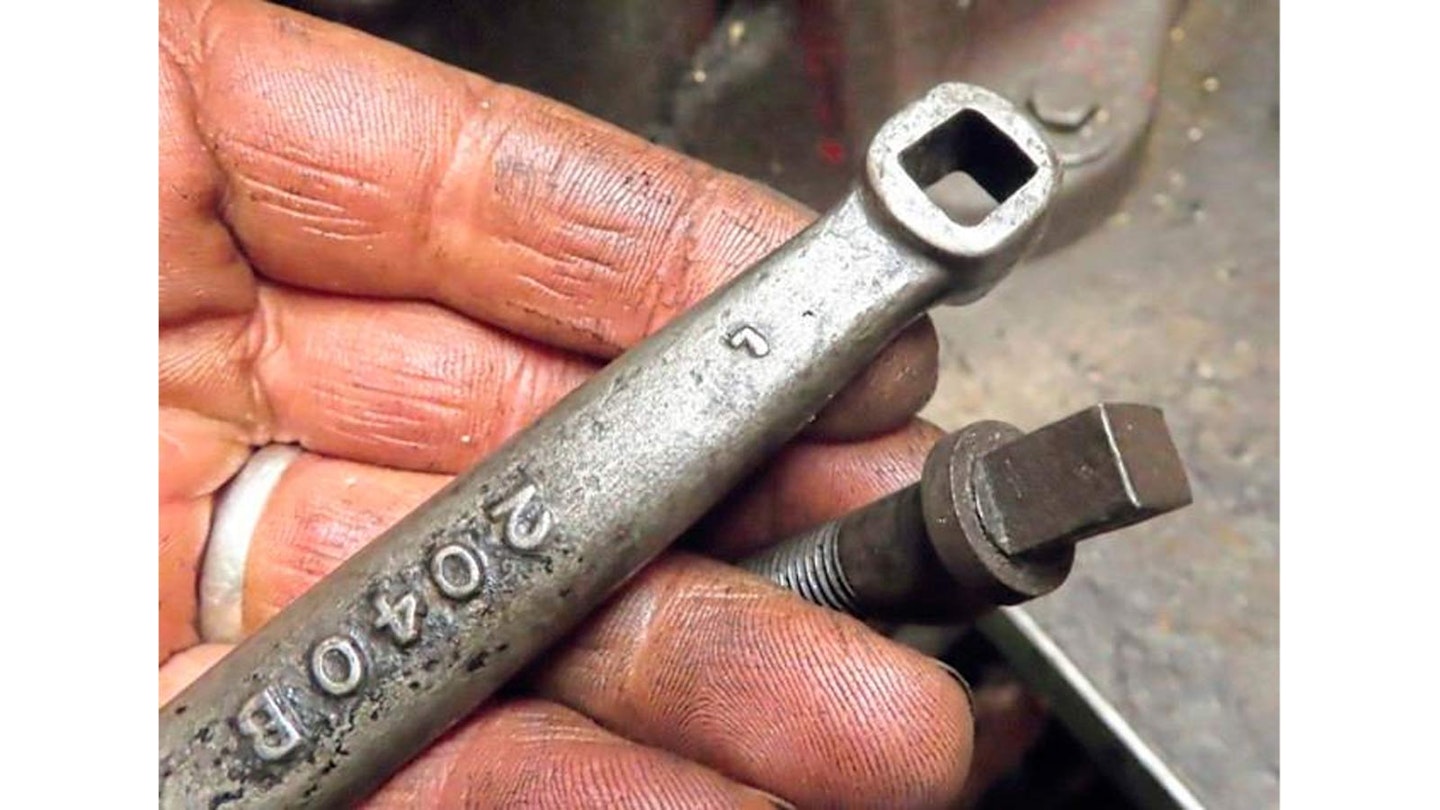
The head had been fitted with Allen bolts, but I had some originals. I have an original key for the square heads. Fit them in the head before the rockers or you can’t get them in the holes.
Oil tank soldering
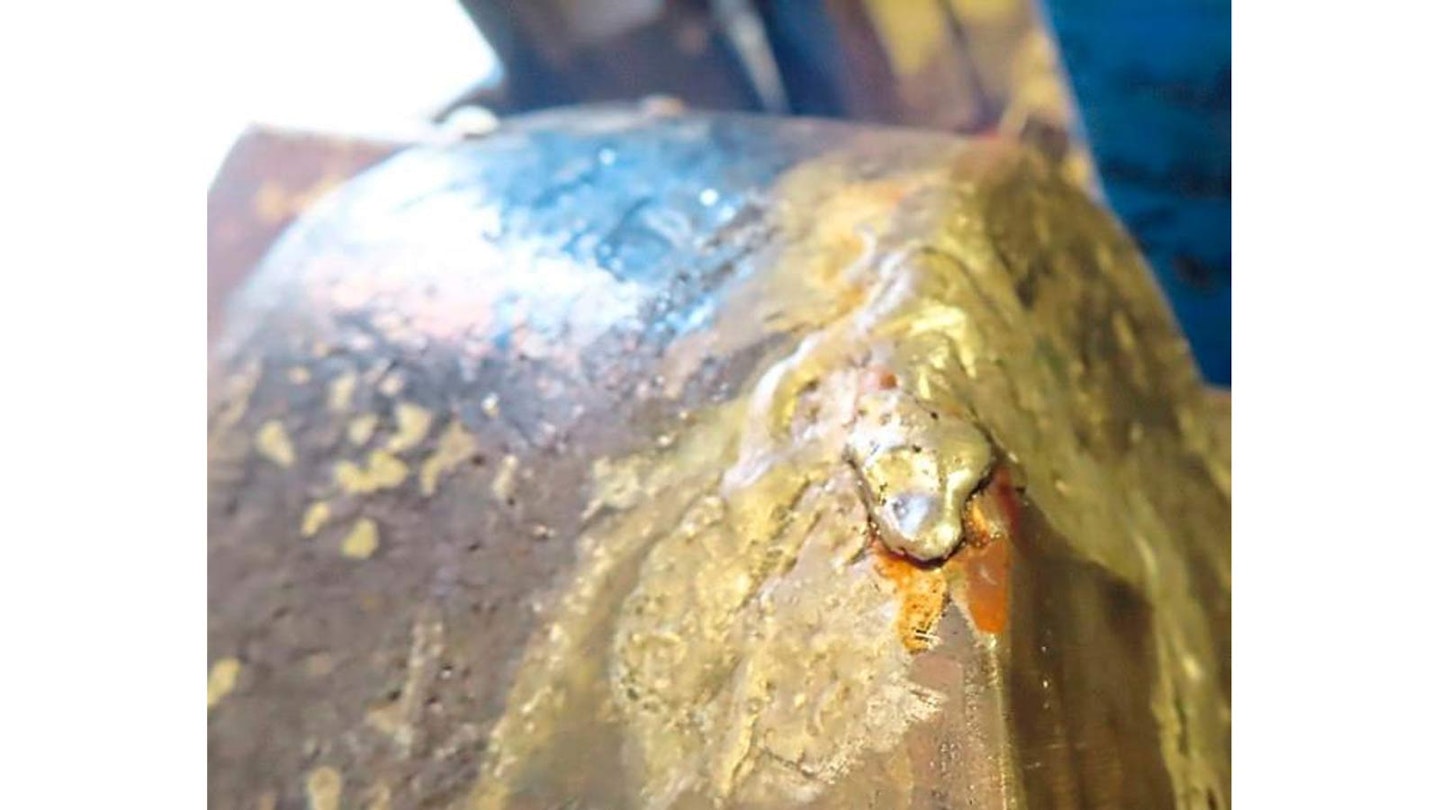
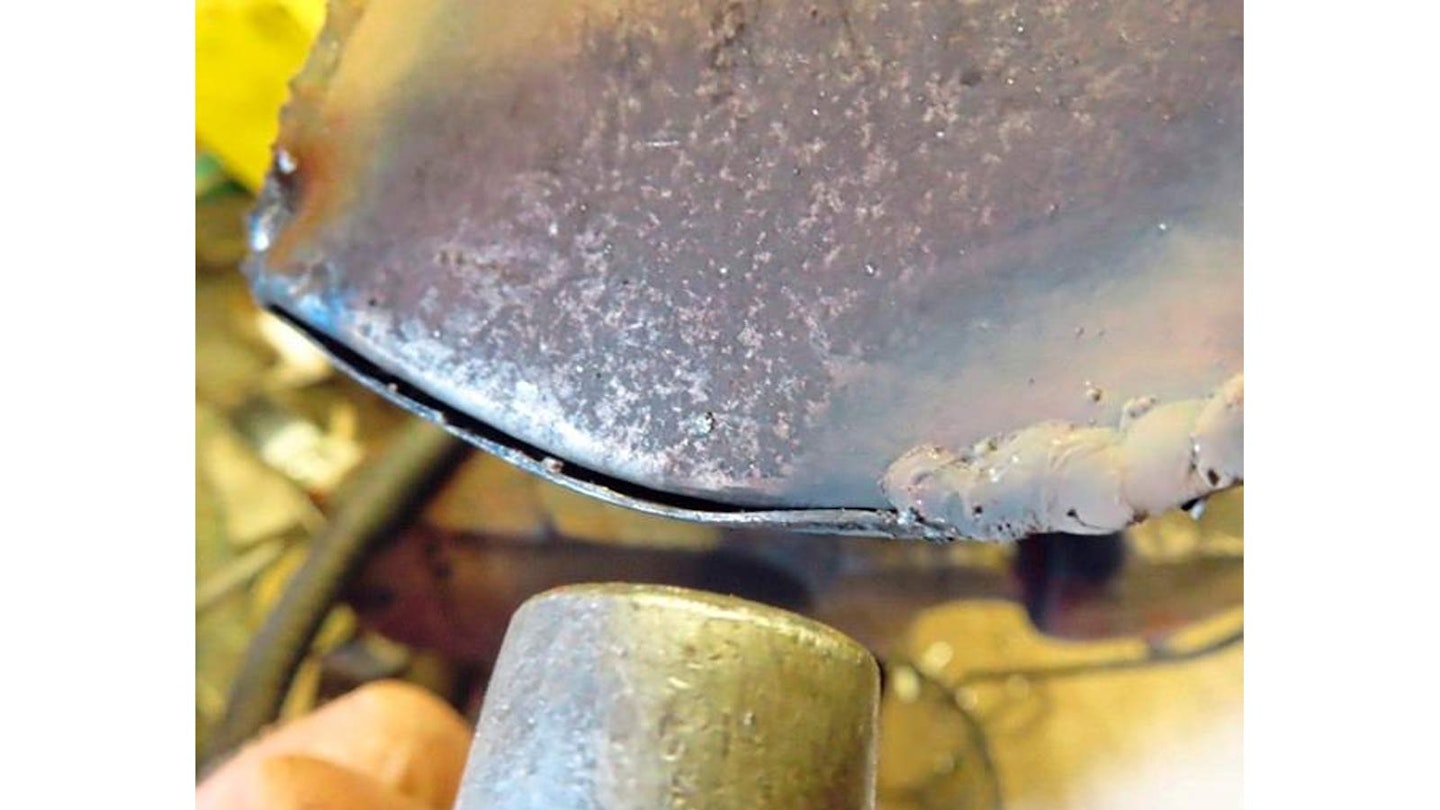
14 There she blows
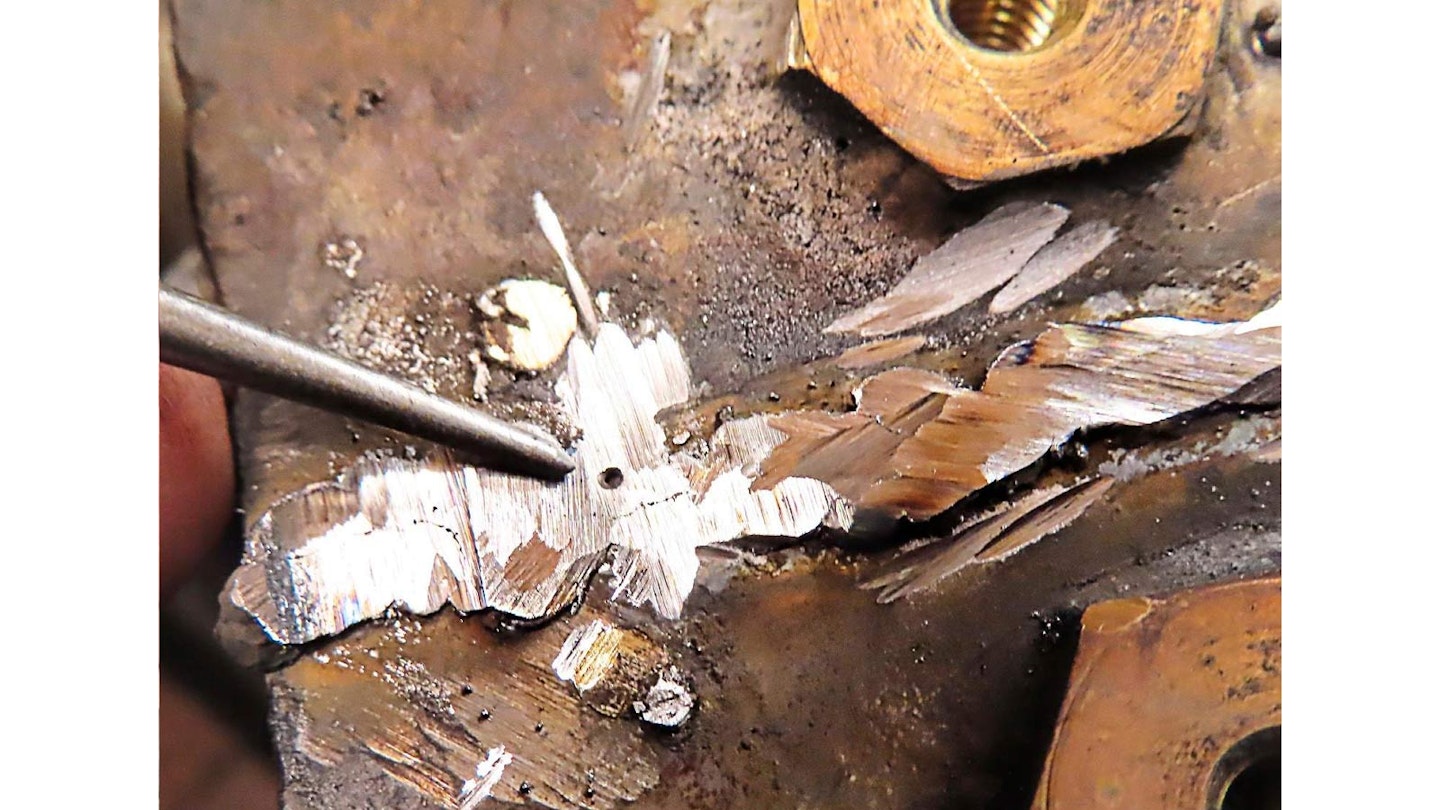
The difficulty with the oil tank is that, as you grind back the welds, tiny blowholes like this one (pointed out) appear. I think they’re caused by pollutants that reappear as you try to weld over them.
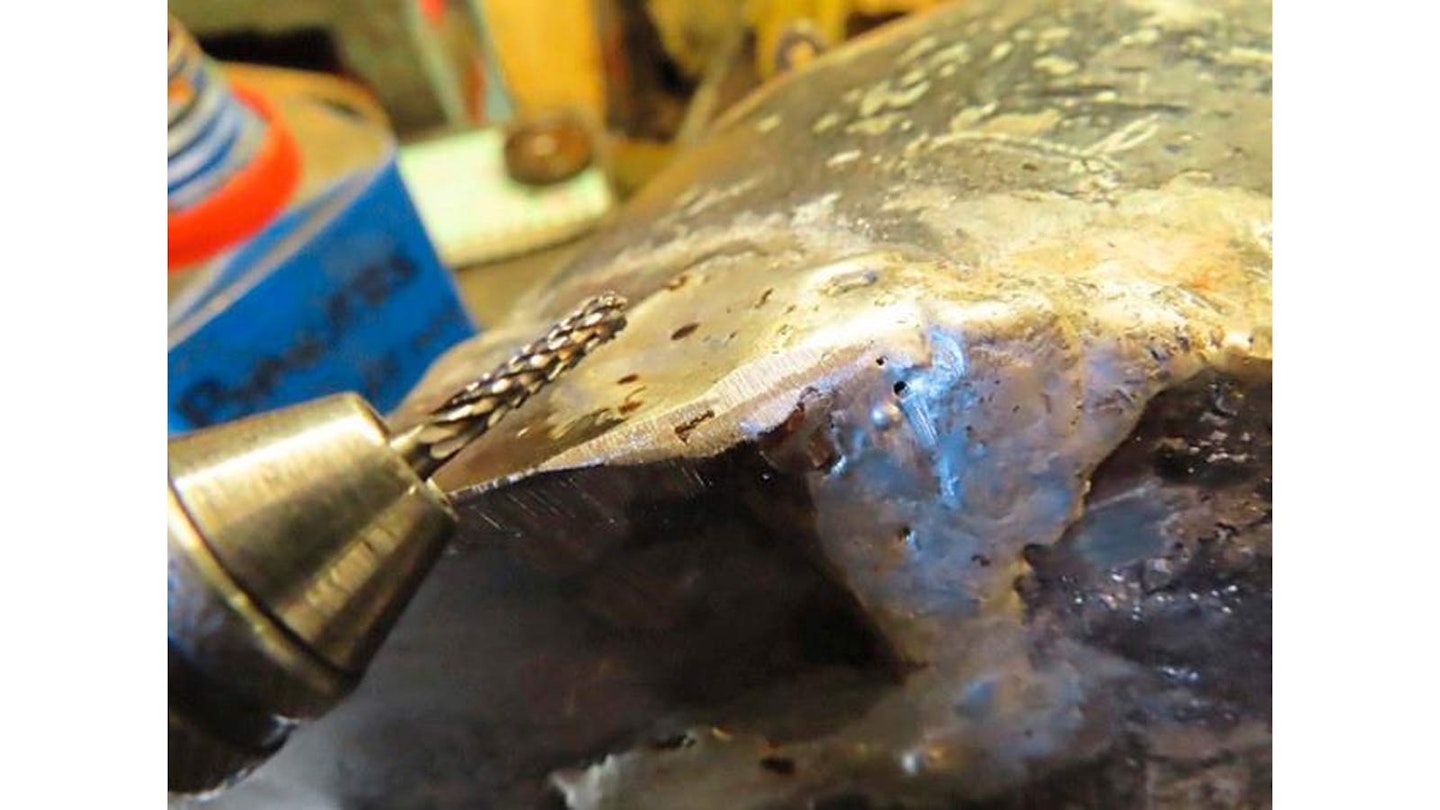
15 Is it safe?
I find the best way to get around this problem is to use a small burr on a Dremel tool – use it to open out the hole, like a dentist on a tooth cavity, cleaning up the surrounding metal so that solder will take.
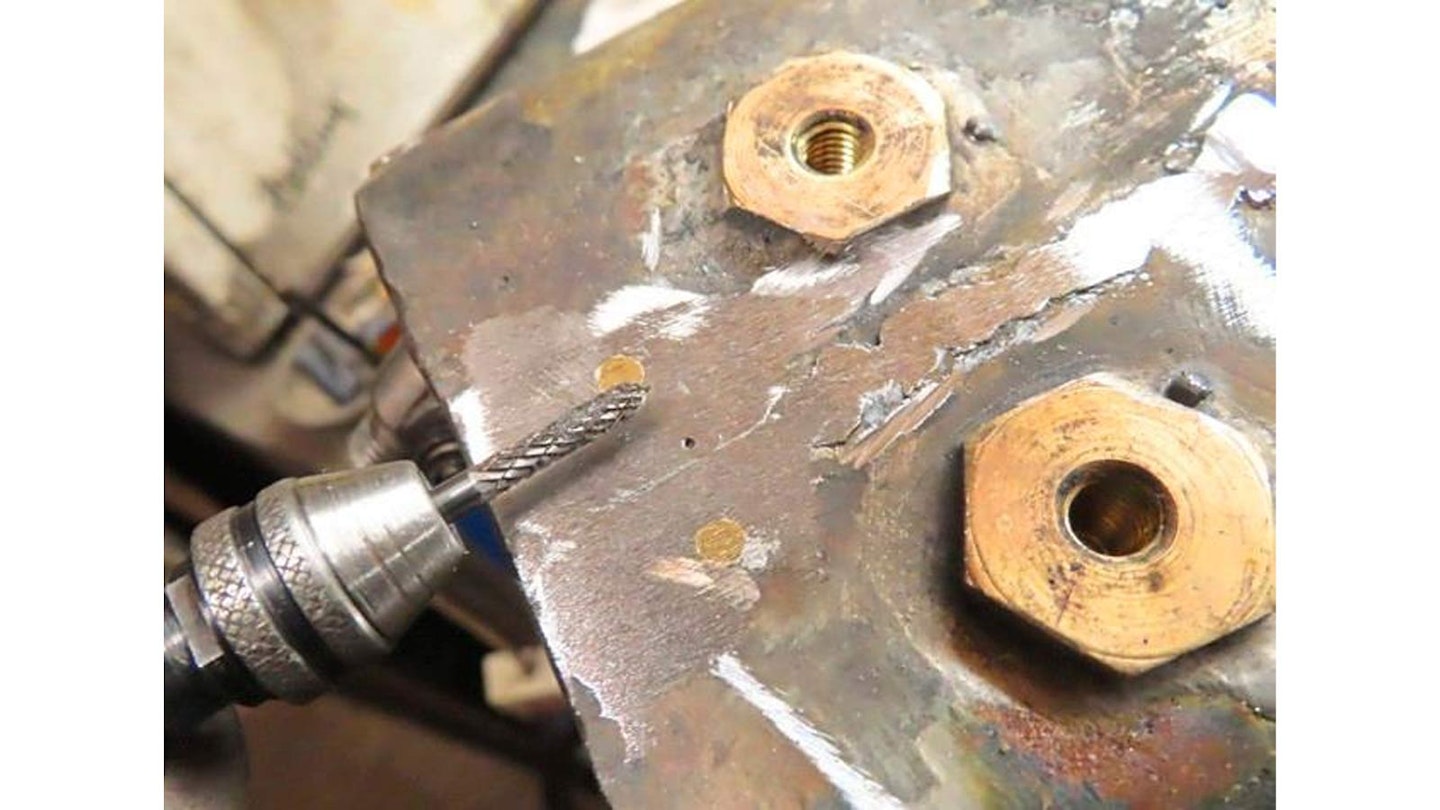
16 Holier than thou
Unfortunately, blowholes are often duplicated in the solder too – sometimes they’re just tiny dots – and can be stubborn to beat. Once again, burr them out as deep as you can and try again using flux.
17 Keep it local
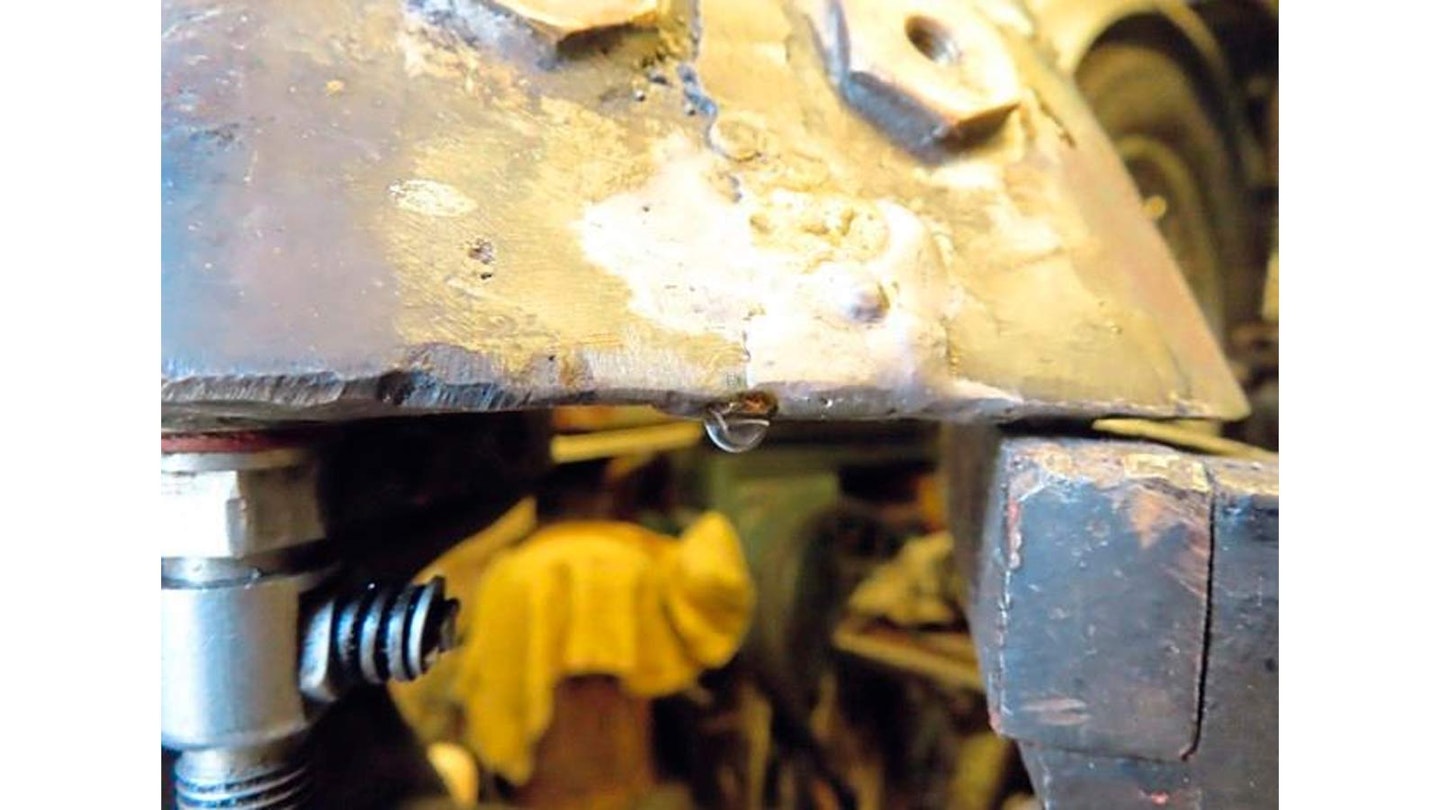
If all else fails, the last resort is to heat very locally and blob solder over the blowhole so that it fuses with limited melting. That’s sorted, but there’s a drip of water – from underneath this time.
18 Go with the flow
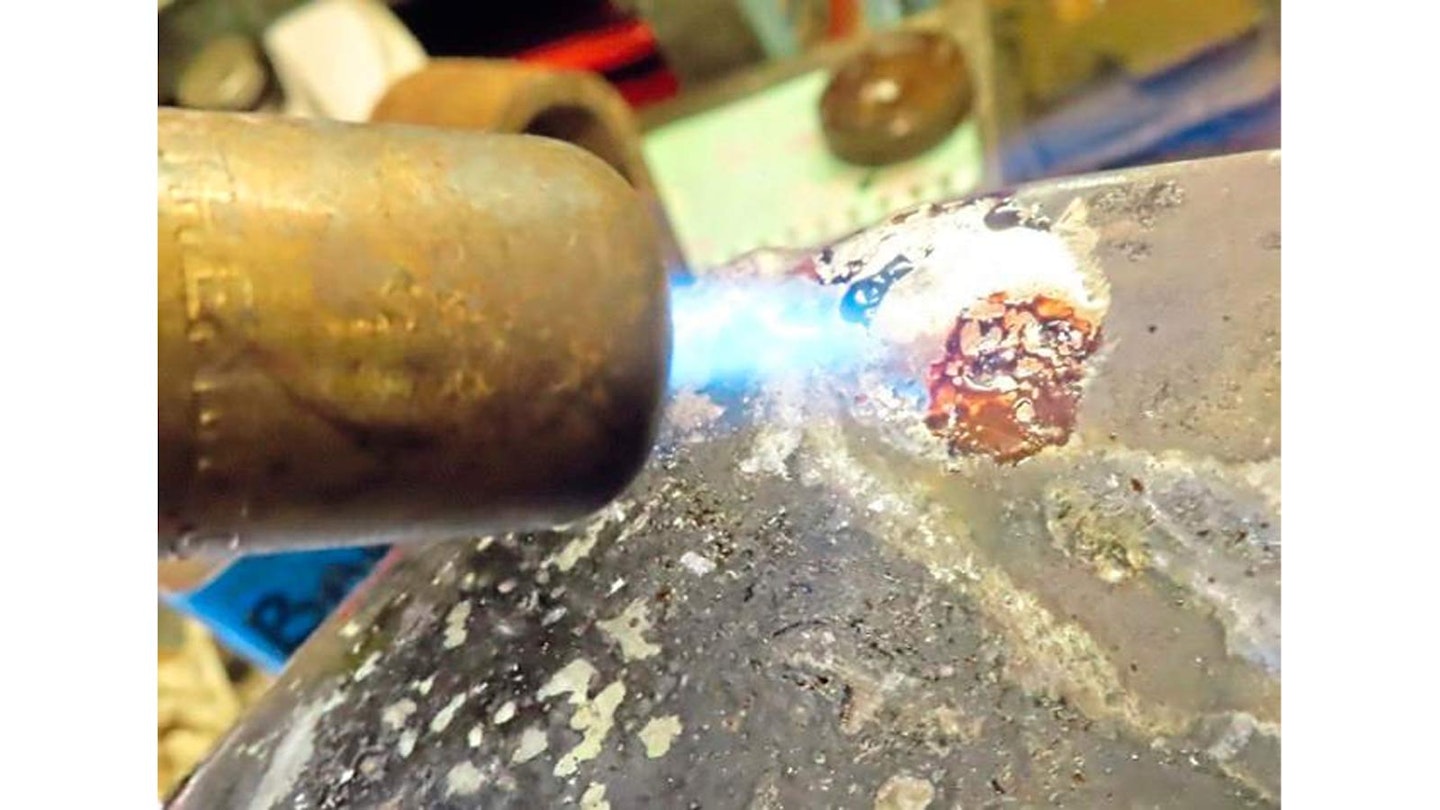
So it goes on, until all leaks are fixed. Here the solder won’t flow over the tinned surface, which may be due to a lack of heat or possibly pollution. Try heat and brushing with flux – it should follow the brush.
19 Flux with success
This is what you don’t want. Seeing the edge of the solder tucked under tells you it hasn’t fused. It may work, but is unlikely to last; if you try to tidy it up, the leak’s likely to restart.
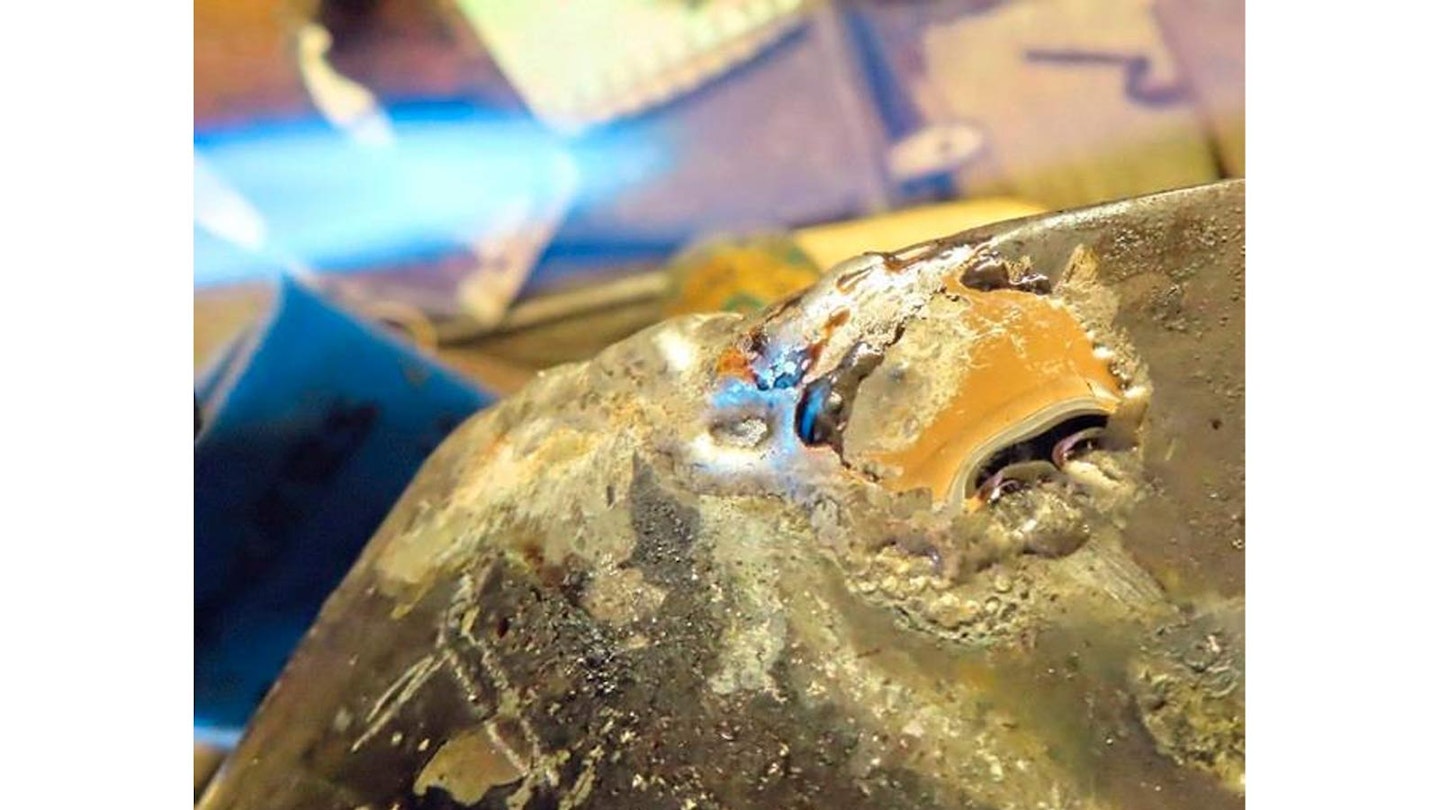
20 Failure to fuse
That got it! Note how the flux floats to the top where it can be wiped clean later. Use a small flame – and sparingly. Too much heat warps the steel, so it’ll move as the solder sets.
21 Living on the edge
I made a new tank top ‘lid’. Rolling the edge around anything you can use as a former will increase strength, so it resists heat distortion and produces a groove for weld or solder.
22 A lid with no leaks
My lid needs soldering to the internal frame to prevent oil leaking from under the bolt. The best way to do that was first to generously tin both the bracket and the steel top.
23 Neat heat solution
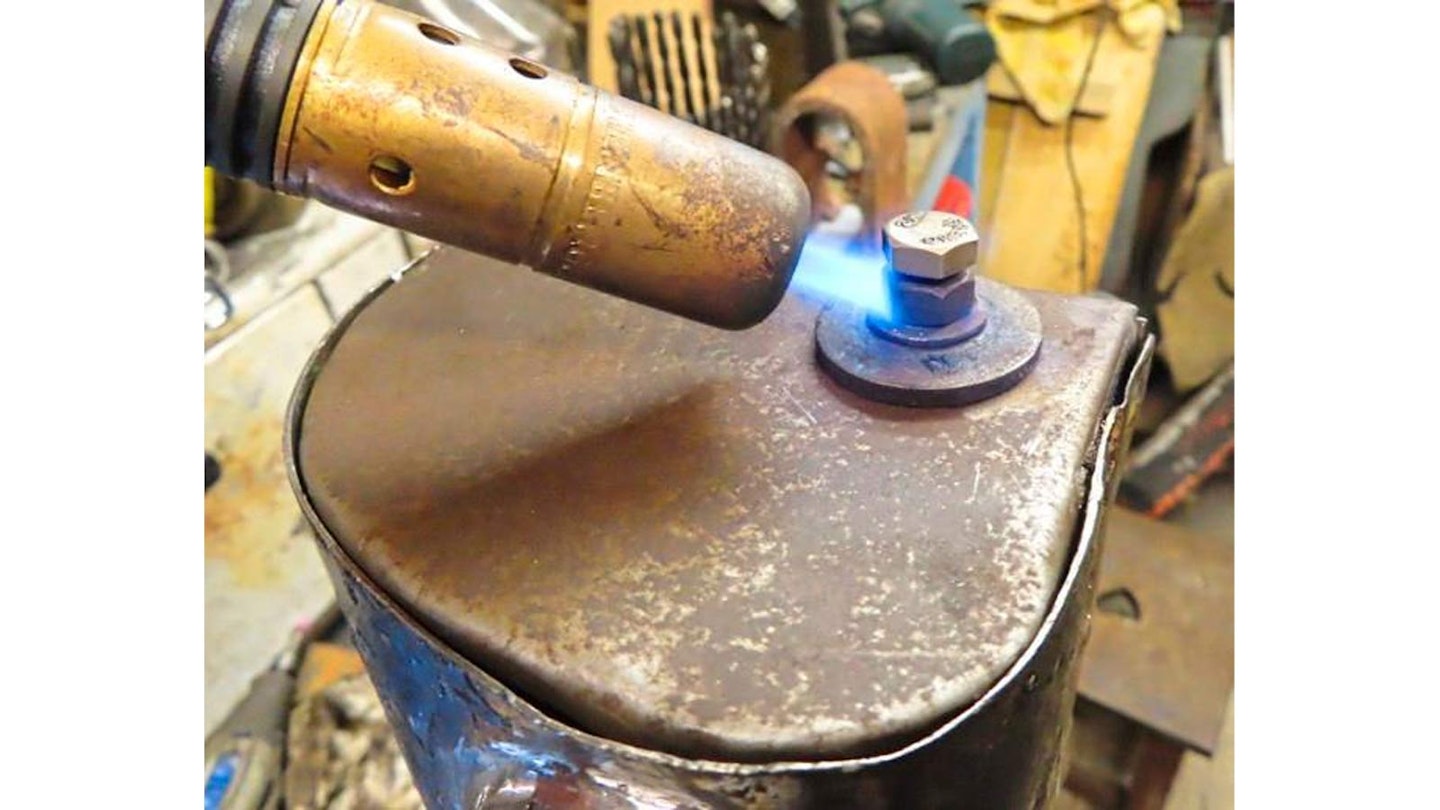
Bolt/washer secures the lid while supplying a conductor for heat to reach the solder without risk of distorting the lid. Tightening the nut as the solder melts presses the parts together.
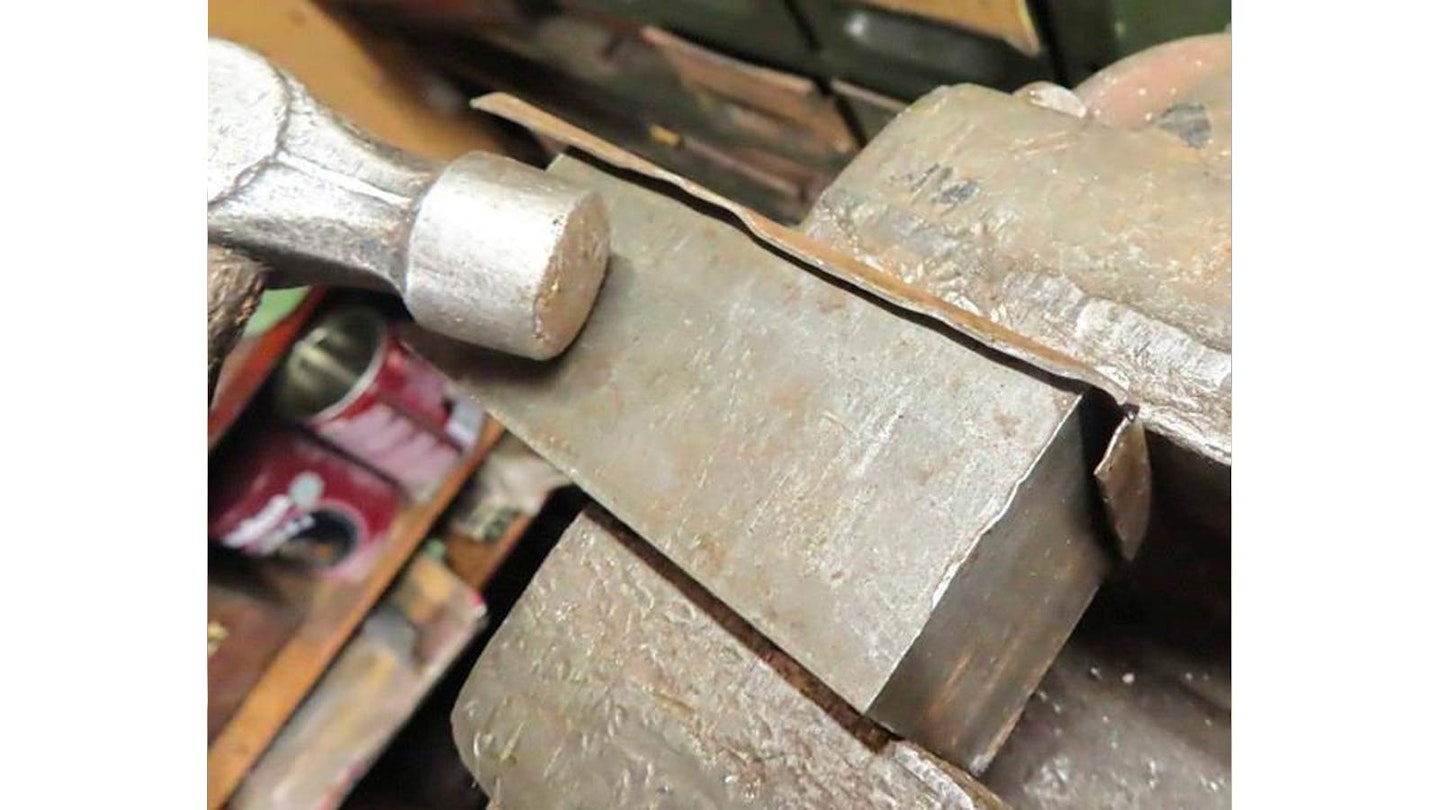
24 Mind the gap
Don’t try to bridge gaps when welding sheet, you’re likely to burn holes that way. Just dress the metal with a hammer to close up the gap as you go; weld heat makes it easy.
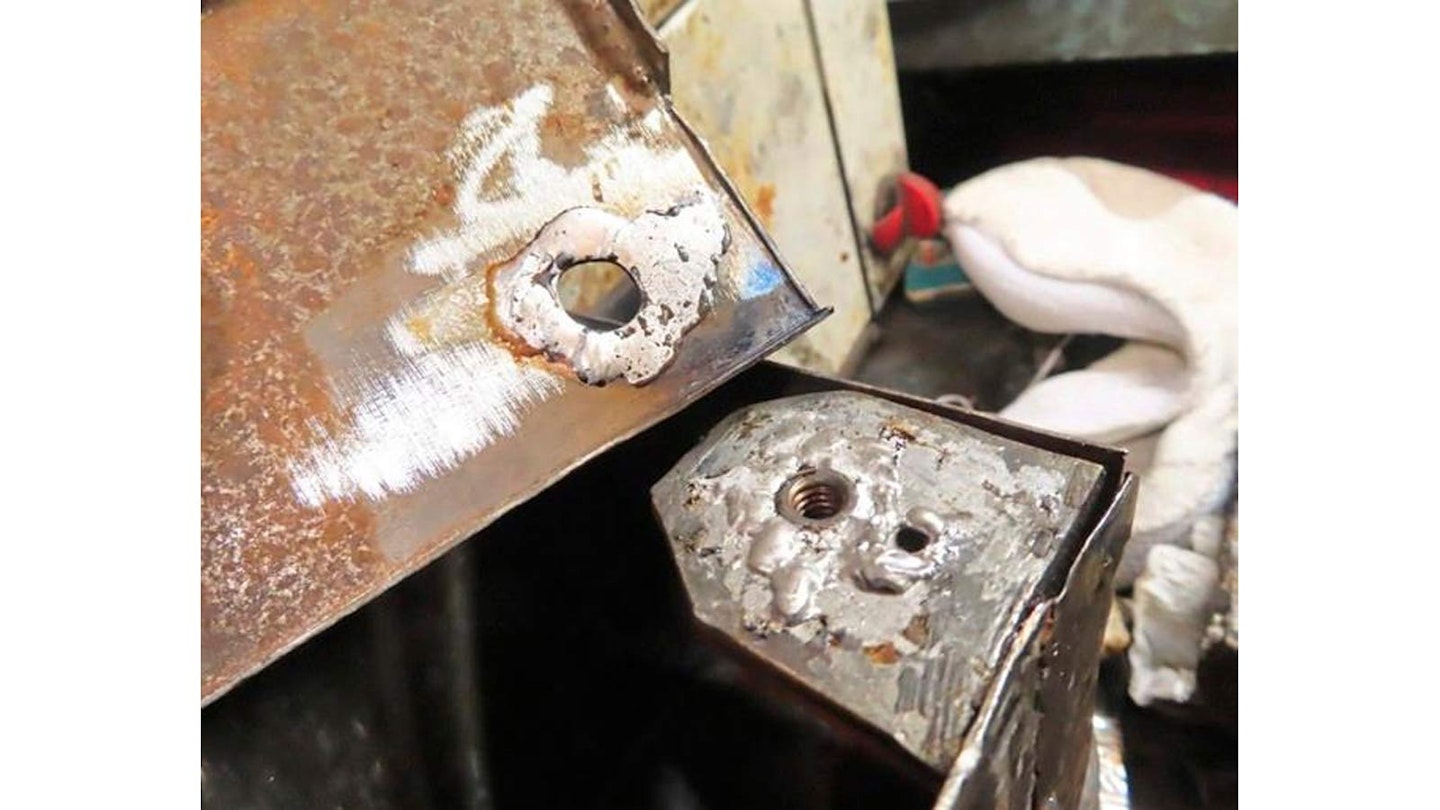
25 Job’s a good ’un
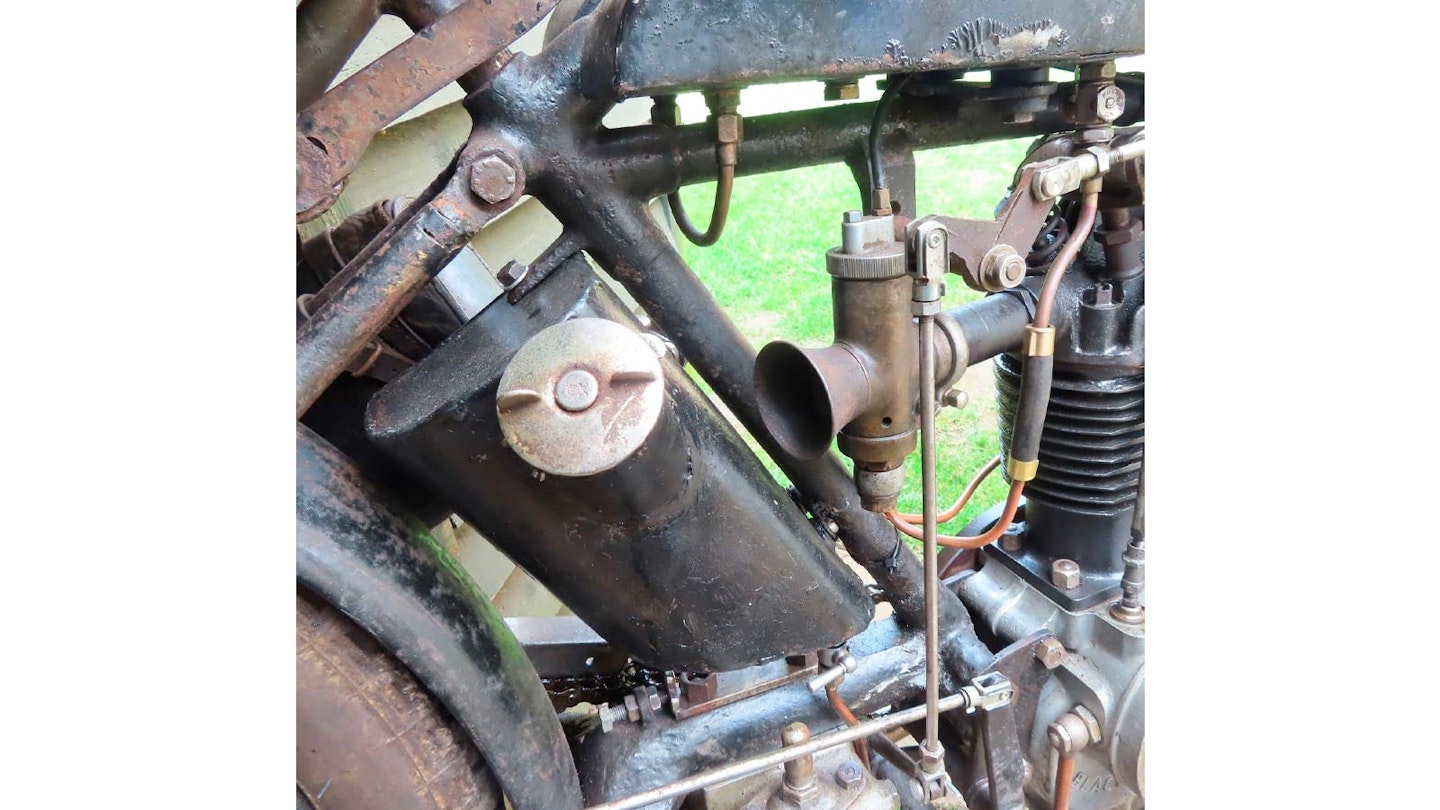
All done. The cap needed altering to fit properly and I had to make a pipe to run from the hand oil pump on the left to the new crankcase fitting – it’s an extra for high-speed use.
26 And lastly...
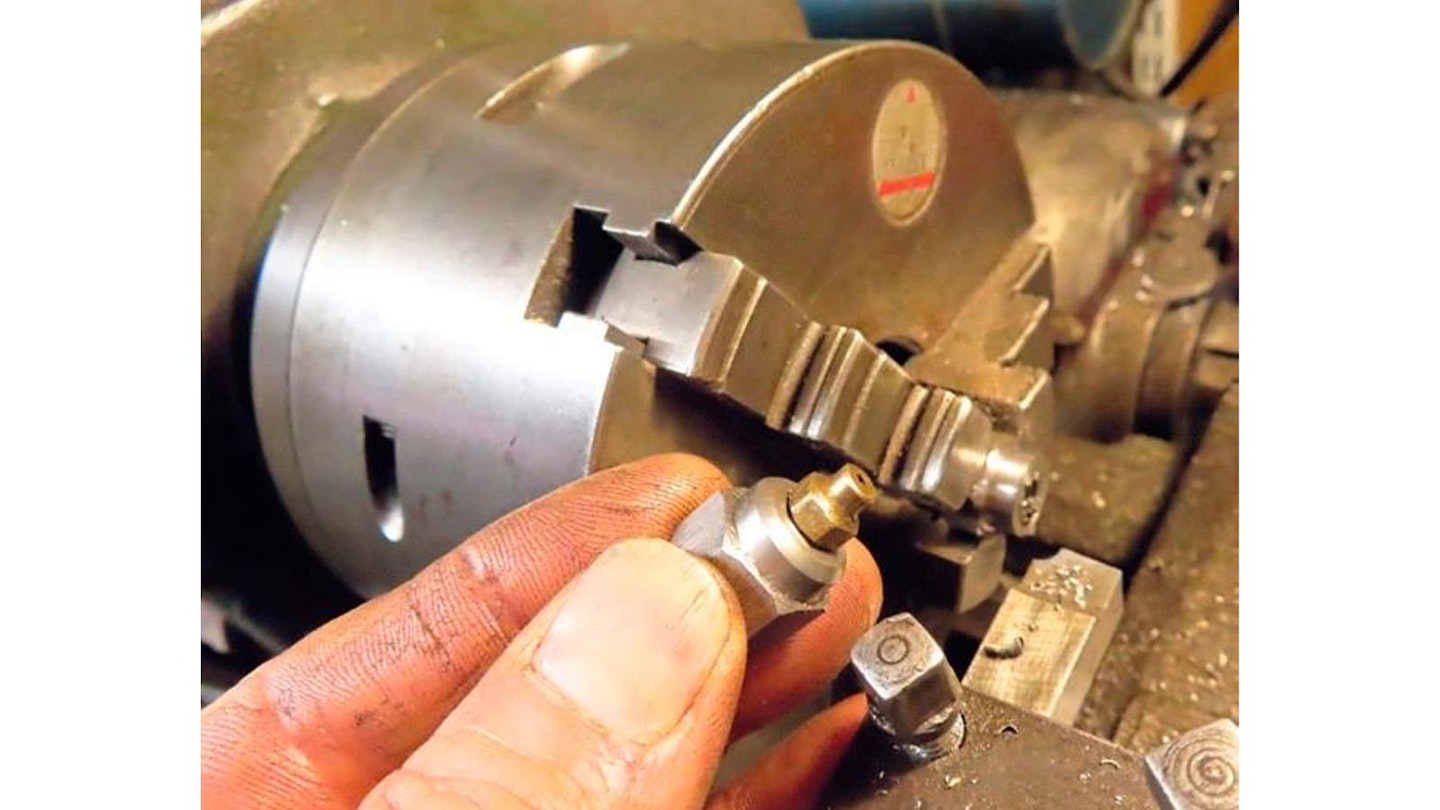
Another little job I’d been meaning to do was finding a way to grease the rocker spindles. I made these domed nuts on the lathe; threaded for grease nipples, they’ll make the job easy.
In the toolbox
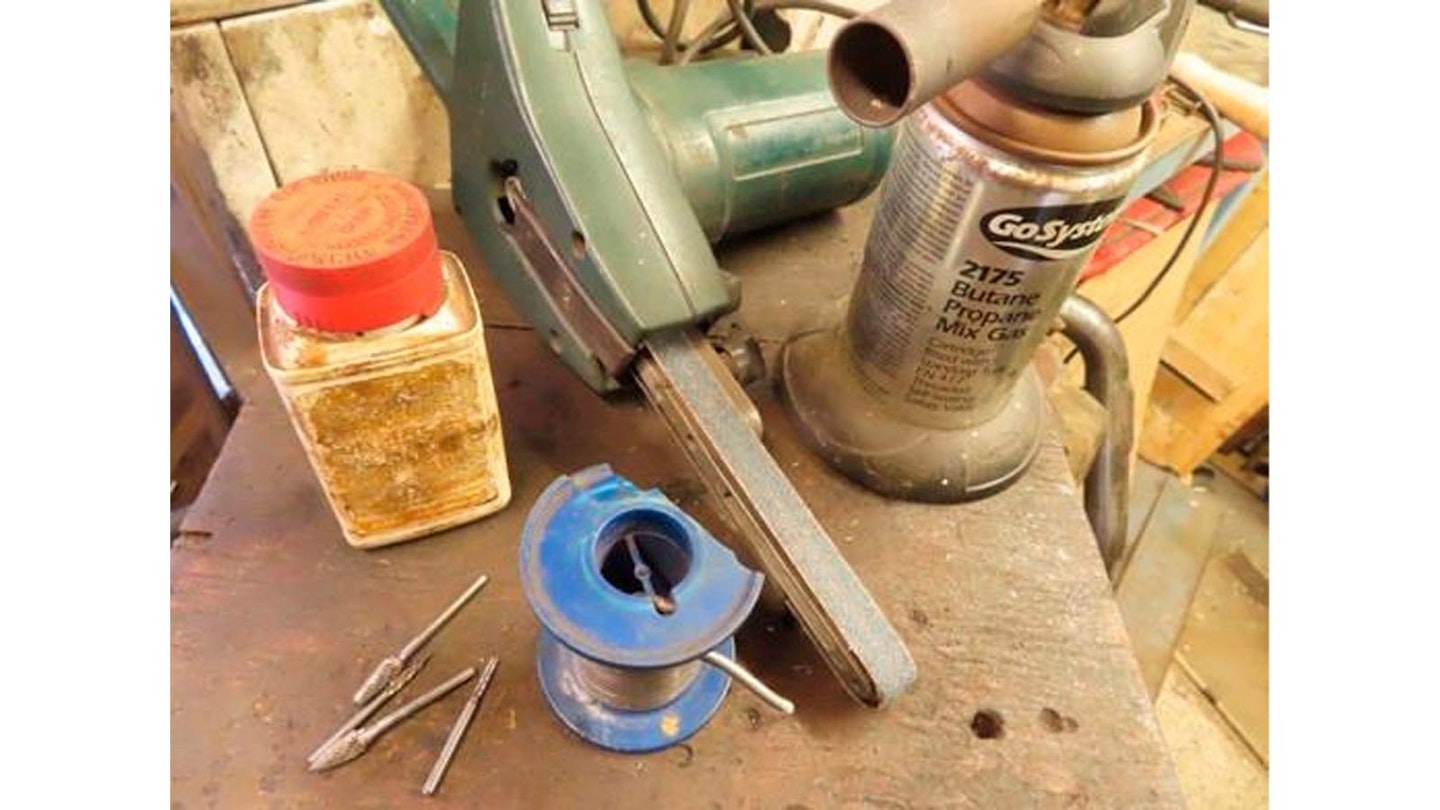
For soldering steel, Baker’s flux is essential – but it’s corrosive, so wash everything clean after. Carbide burrs in a Dremel and a power file are also great for buffing corrosion.