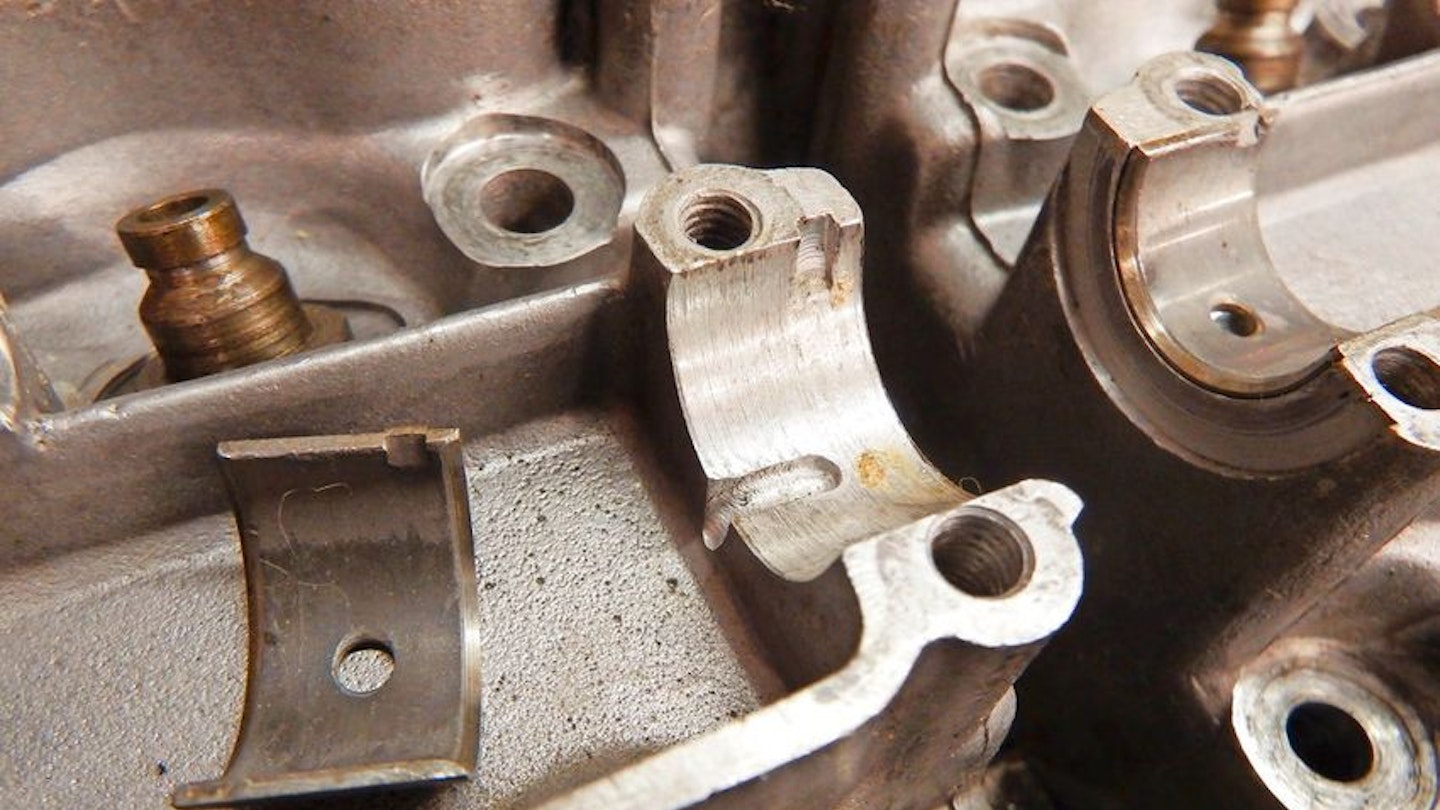
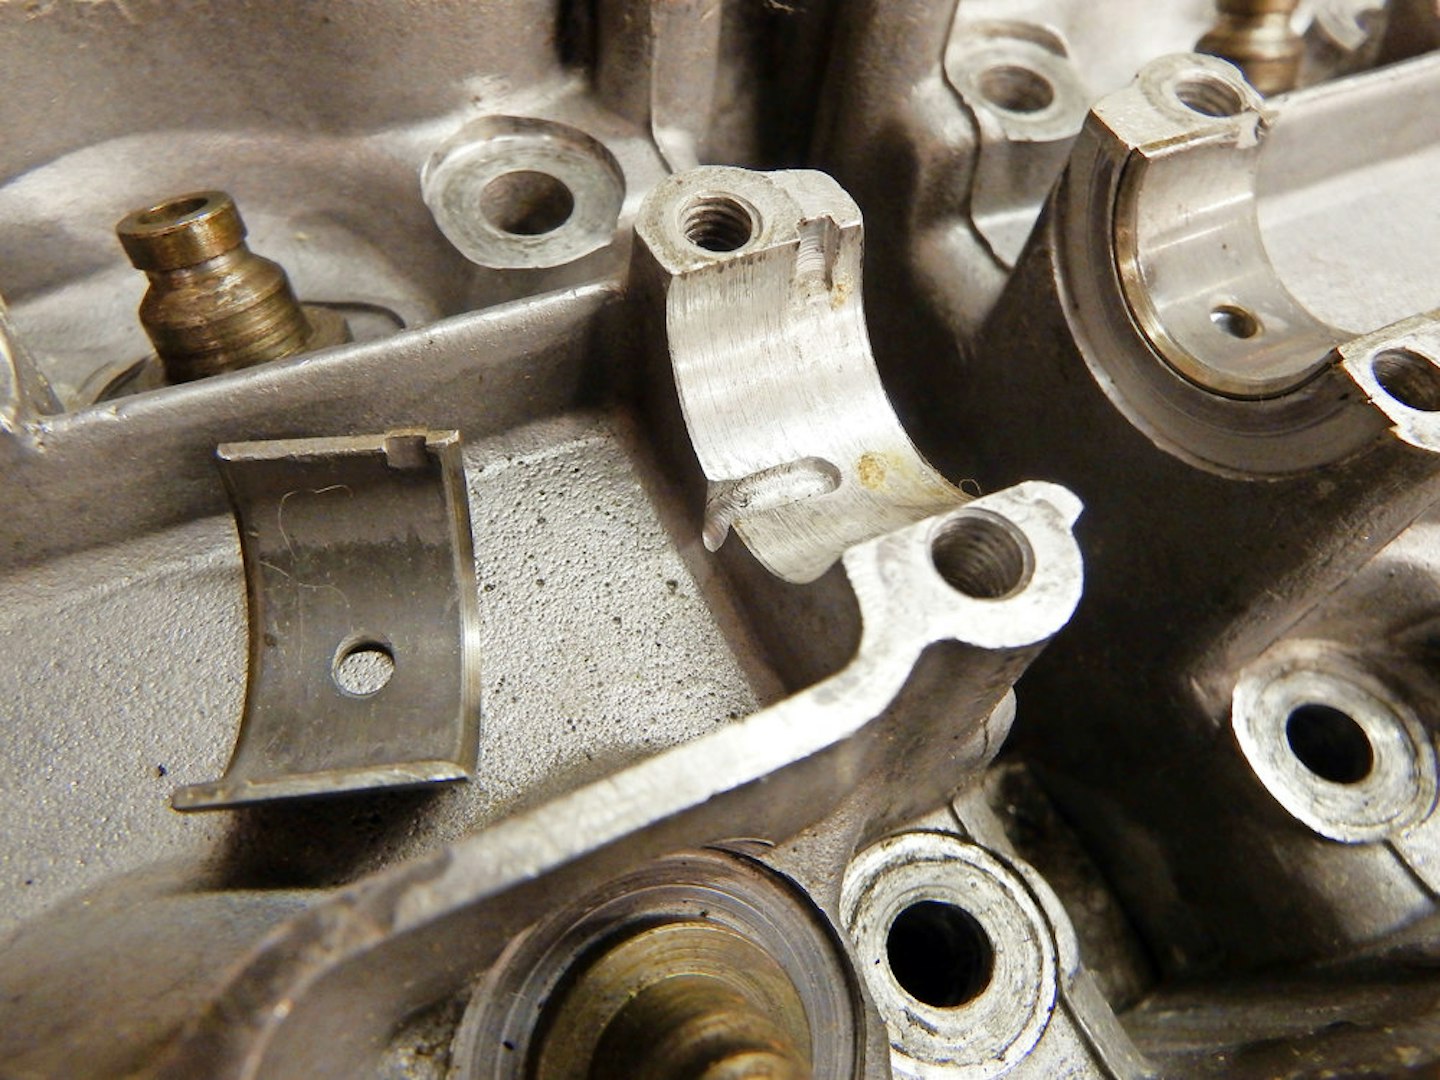
I'm used to modifying parts to fit old engines; with the 1920s bikes you accept that there simply aren’t any parts suppliers and you grow accustomed to making or modifying parts from other vehicles to do the job. But it’s not an approach I expect with Japanese classics. My report on the project 400 Four provoked an email from Ashley Derrick, from the SOHC Honda Fours Forum. The cylinder head has been machined to accept tiny bearing shells, presumably after a lubrication failure had damaged the original bearing surface, machined directly in the head casting. Ashley asked what the shells were; the Kawasaki Z1 used shell bearings here, although a different size. I’d assumed they’d be Kawasaki – and not needing replacement I put them out of my mind – but on removal they were obviously not Japanese. The identification number S8919M, with the letter G in a square, suggested these were British Glacier bearings and, stranger still, they were minus 10 thou undersize. The cam hadn’t been reground so these shells were made for something else – but what? Luckily I have a 1968 Glacier catalogue; within it was the answer. They’re for the big end bearing of a Villiers 120cc industrial engine. The undersizing brings the Imperial 7/8in diameter down to match the metric camshaft. Dixon Racing may have done the conversion at the time and, if you can find them, the shell set you need is Glacier B1042S.
A TIMELY WARNING
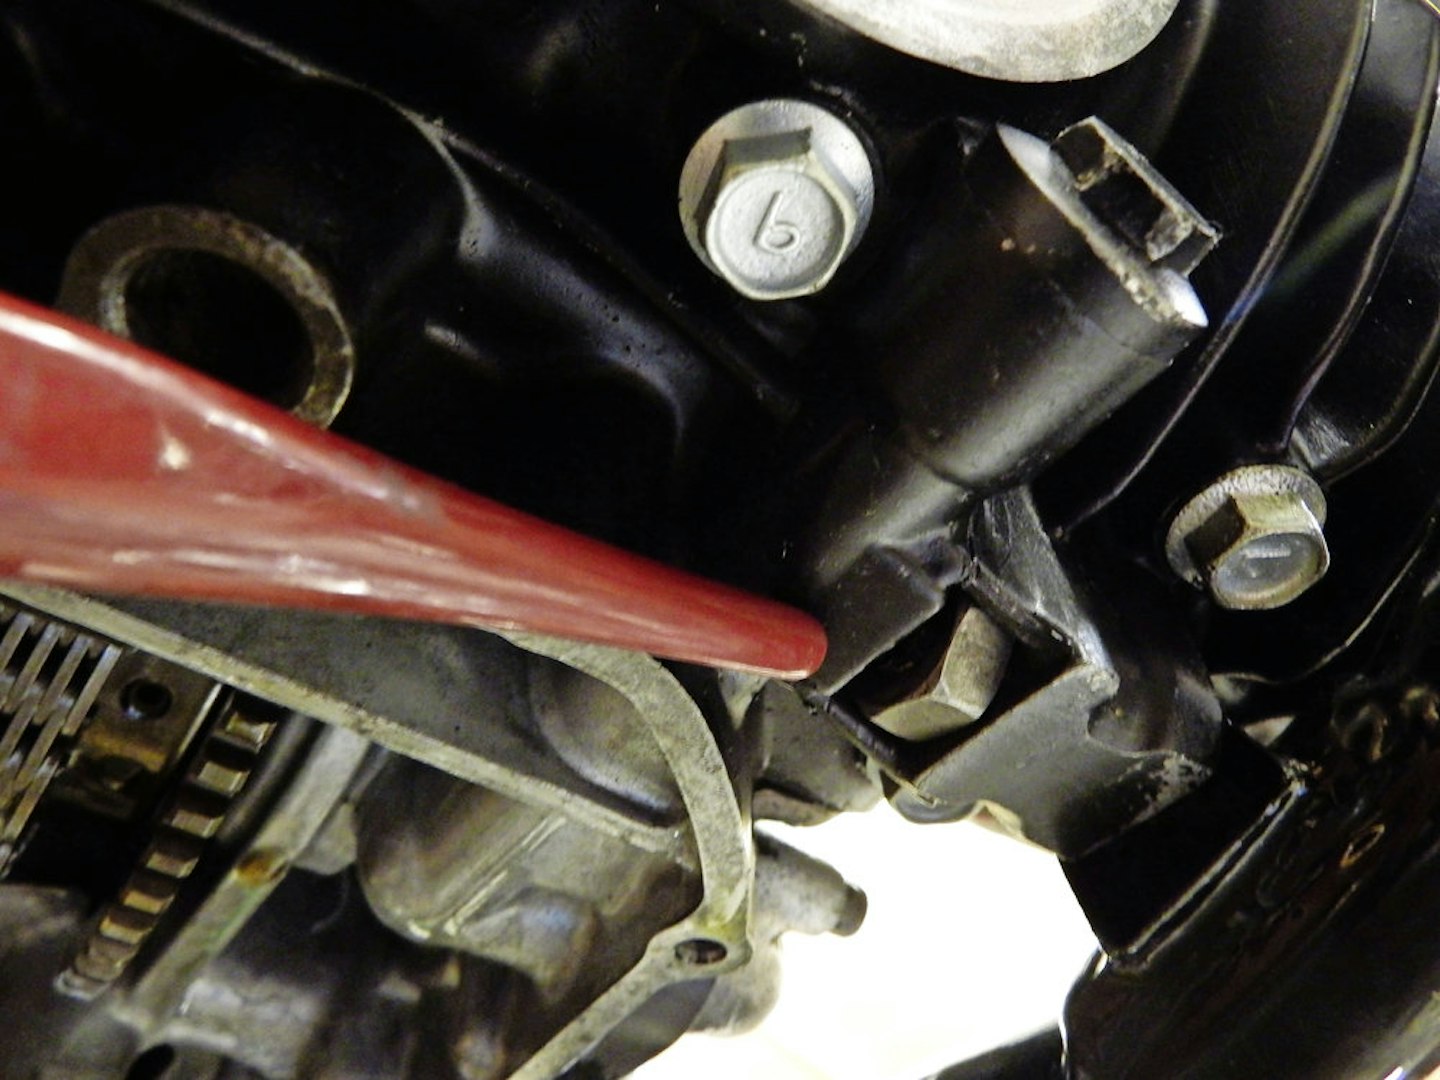
The project 400 Four has created a lot of interest and a bit of advice worth passing on from Dave Williams. Dave asked if I was aware of a potential danger when replacing the Honda’s front engine bolts. The bolts screw into nuts held captive in cast grooves in the crankcase and he tells me the bolts have to be a precise length. They were originally a nominal size and if the washer on the bolt was misplaced, the bolt was just long enough to pass through the nut and crack the crankcase behind. Dave says Honda modified the bolt, shortening it to increase clearance. “I think it was only shortened by something like 1mm,” says Dave. “But don’t chance going for a standard length bolt – and watch out for new old stock ones in case they are the unmodified length.” Well, I’ve used the same bolts that came out and looking underneath there’s room at the end of the bolt, but I can see the potential for problems as there’s an oilway at the end of the bolt. Checking the parts list, the number was superseded after chassis number 1046562 and the new bolt is 10mm by 74, so the original (which is part number 90106-333-000) must have been 75mm. Good tip, Dave!
STOP WHINING
Ian Rocliffe has finally bought a 400 Four after wanting one for 37 years! He’s worried about a whine under load that disappears on the overrun. It’s quiet in neutral, but makes the noise if you try pulling away against the brake. “I know Hondas have a characteristic whine,” he says, “but at what point does it mean the primary chain needs replacement?” Well, I think the Honda noise is usually clutch rattle; whine sounds like something to investigate. I’d say first that whine is usually due to a gear, a tight chain or a bearing. Worn chains tend to be noisy when not under load, like at tickover or on the overrun. If your noise is only in gear and under load, it could indicate a gearbox issue, but not if it even occurs feeding in the clutch at a standstill as the gearbox is barely turning. And it’s unlikely to be the clutch if it happens when riding along with the clutch engaged. I suspect the primary shaft bearings. The primary chain goes from the crank to a primary shaft in the bottom crankcase, this then drives the clutch by an overhung gear on the end and from that the gearbox. If there’s wear in its two ball-races, I think that might be the problem. You should be able to get some idea by removing the clutch cover. Inside you’ll see the gear and be able to waggle the shaft. The bearing on the gear side is removable; take off the gear and it’s held in by a circlip, but although you can see the other by removing the oil pump, you can’t change it without splitting the cases. Arguably the gear side one does the most work, so you may be lucky and find this is the problem. It’s also worth removing the sump to see if there’s anything obvious; it’s a large opening that offers a good view of the internals.
KICK THE HABIT
Derek Fuller writes to say his doctor has advised him he will no longer be able to kick over his Triton, and since he wants to stick with a cafe racer he wonders what alternative electric-start engine he could fit. Something Japanese, a T140ES Bonneville, perhaps, or an 850 Norton Commando? Tricky. I think the best advice is to buy another bike; any such conversion is likely to be expensive. But if Derek is determined to stick with it, the answer would be an electricstart conversion for his original motor – although nobody in the UK seems to do one as yet. The T140 ES engine would be good; many Tritons use unit construction engines and mounting plates are readily available. But it would probably be a difficult motor to find. The Commando engine, ironically, despite being the same make as the chassis, is less suitable. Commando engines fit – upright – in a Featherbed frame, but doing away with the standard forward-lean prevents the use of the stock primary drive, and that houses the electric-start mechanism. A Hinckley or Japanese engine might be a possibility, although I would expect a problem with the rear chain. The output sprocket needs to be as close as possible to the swing arm pivot to prevent excess chain stretch with suspension movement. Typically short, modern unit construction engines would need to be positioned a long way back in the yawning space of a Featherbed frame – and that may affect the weight distribution. I think Derek needs to check out as many Featherbed specials as possible – what about a T160 Trident, for instance?
TRICATI TURN-UP
My pessimism about Steve Cave’s attempt to gather parts for a Tricati (Triumph Ducati hybrid) proved unfounded. An email from reader Steve Winter said he may be able to help with a Ducati 200 frame. I passed Steve’s details on to Steve and Steve said thanks to Steve, but he’d found a guy called, er, Steve at Stafford who sold him exactly what he was after – a dismantled Tricati racer. It’s a project but much of the work has already been done, so he’s hopeful he’ll be ready for next year’s Classic TT after all. Keep us posted, Steve.
HOW TO GRIND YOUR VALVES
'Valve grinding is a straightforward operation but here are a few tips that can make it easier...'
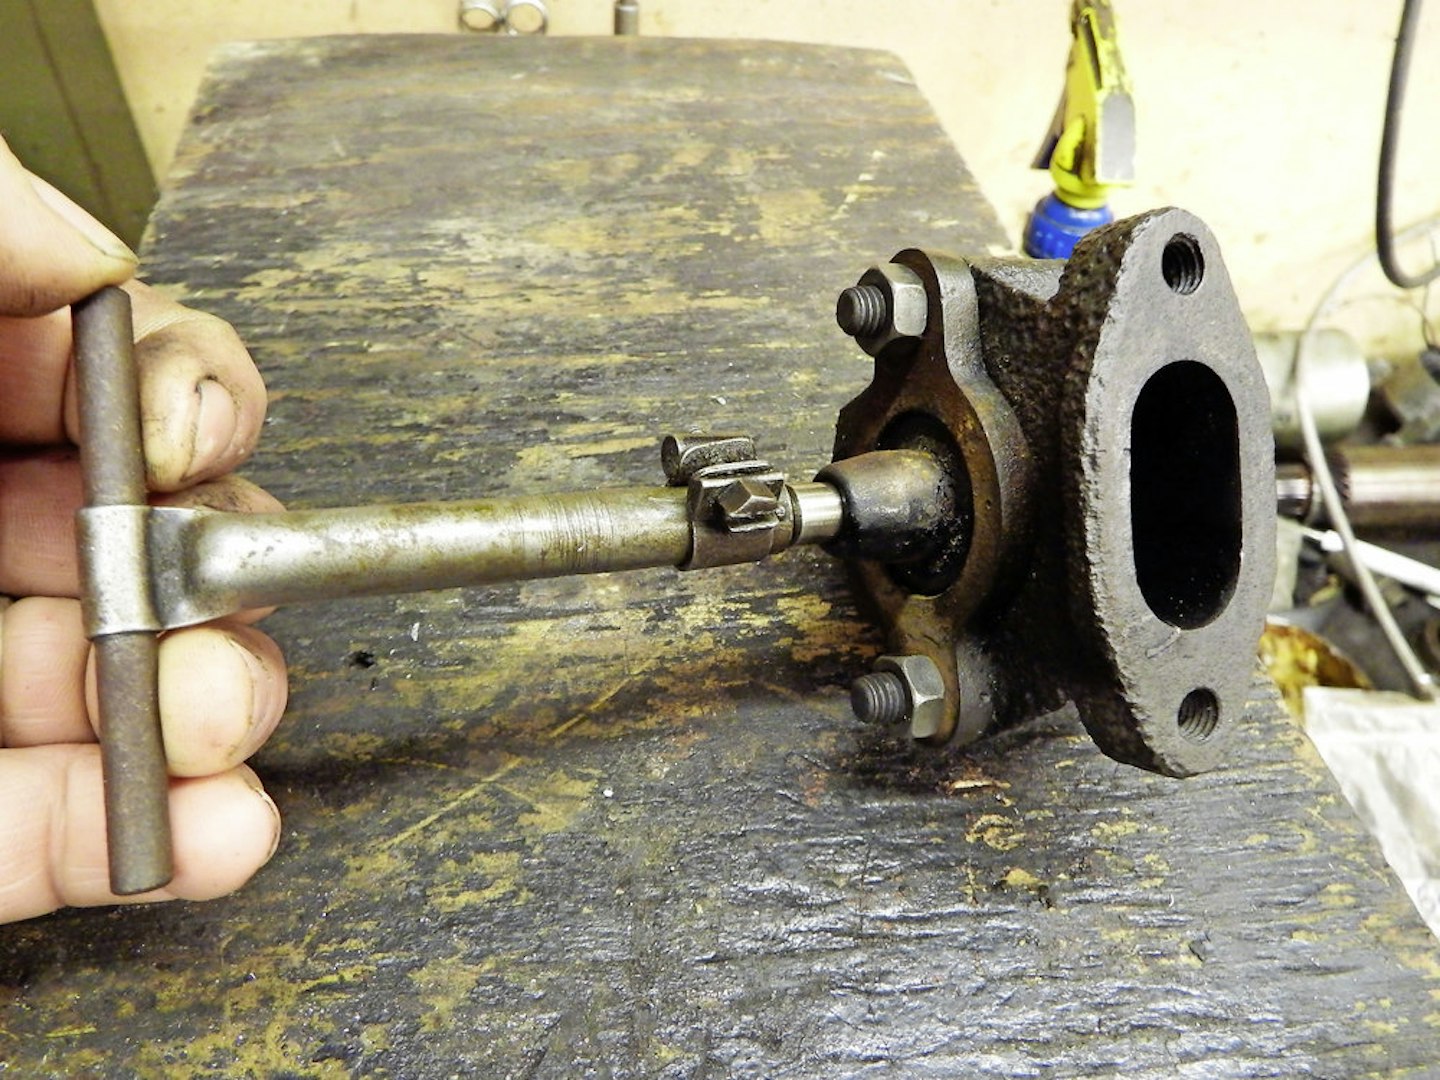
- Rubber sucker-type grinding tools slip easily, especially if the valve isn’t smooth; a bit of rubber fuel hose stretched over the valve stem makes a useful handle that will stay put.
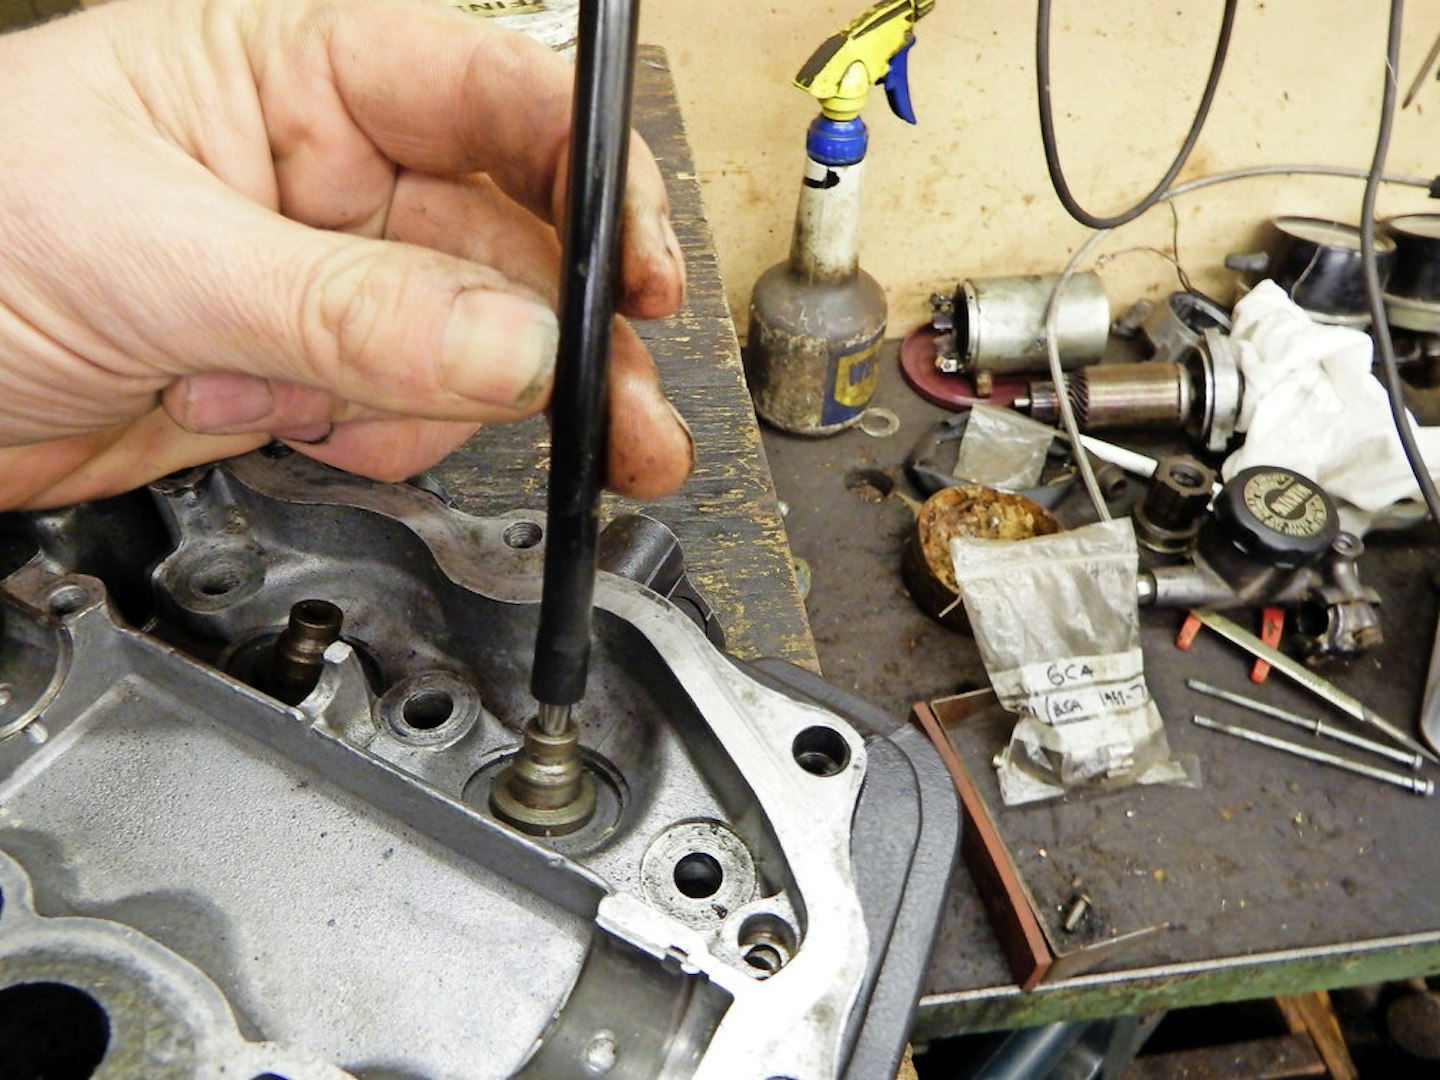
- Terry valve-grinding tools like this sometimes turn up as used buys and are worth having – there are different sizes. Sometimes the stem can be hand-held in a small drill chuck.
- After applying the grinding paste to the valve, a spray of WD40 or similar on the valve seat and in the guide will make grinding easier and smoother to carry out.

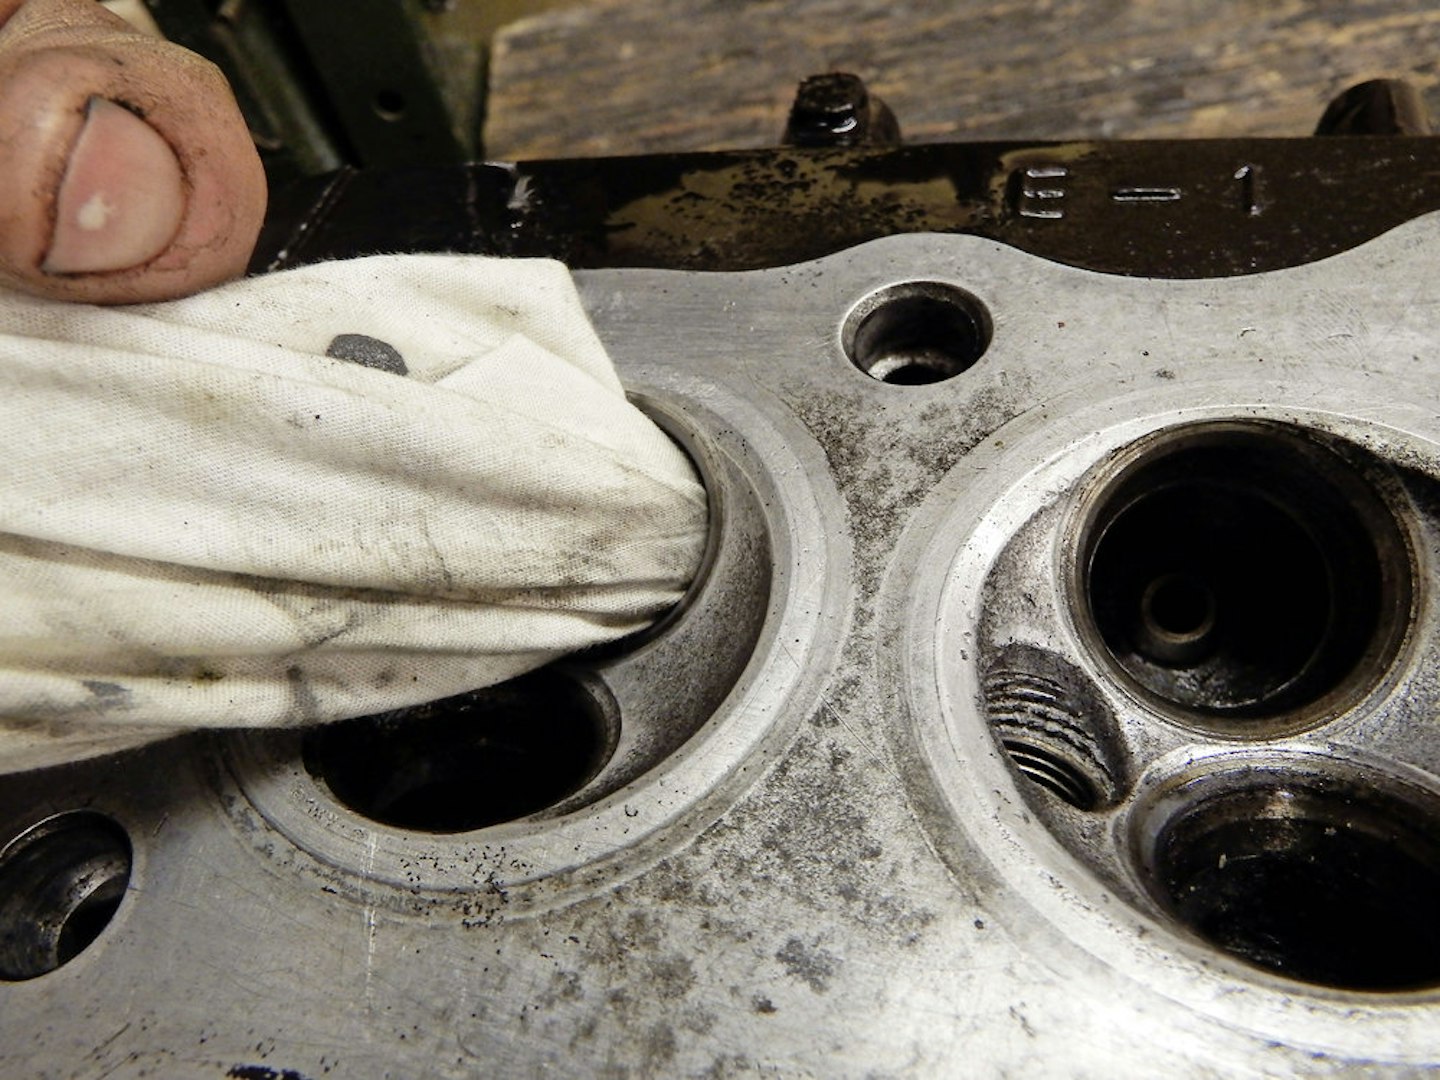
- Once you’re happy with the seating, clean away any grinding paste carefully; it would be very destructive floating around the engine. A clean white cloth will help reveal any traces.